To get started with Connections, you should log in to the Dextrus application with the provided URL and credentials. Once the credentials are authenticated. The Dextrus homepage is displayed.
- Navigate to the Hamburger menu available in the top-right corner of the screen.
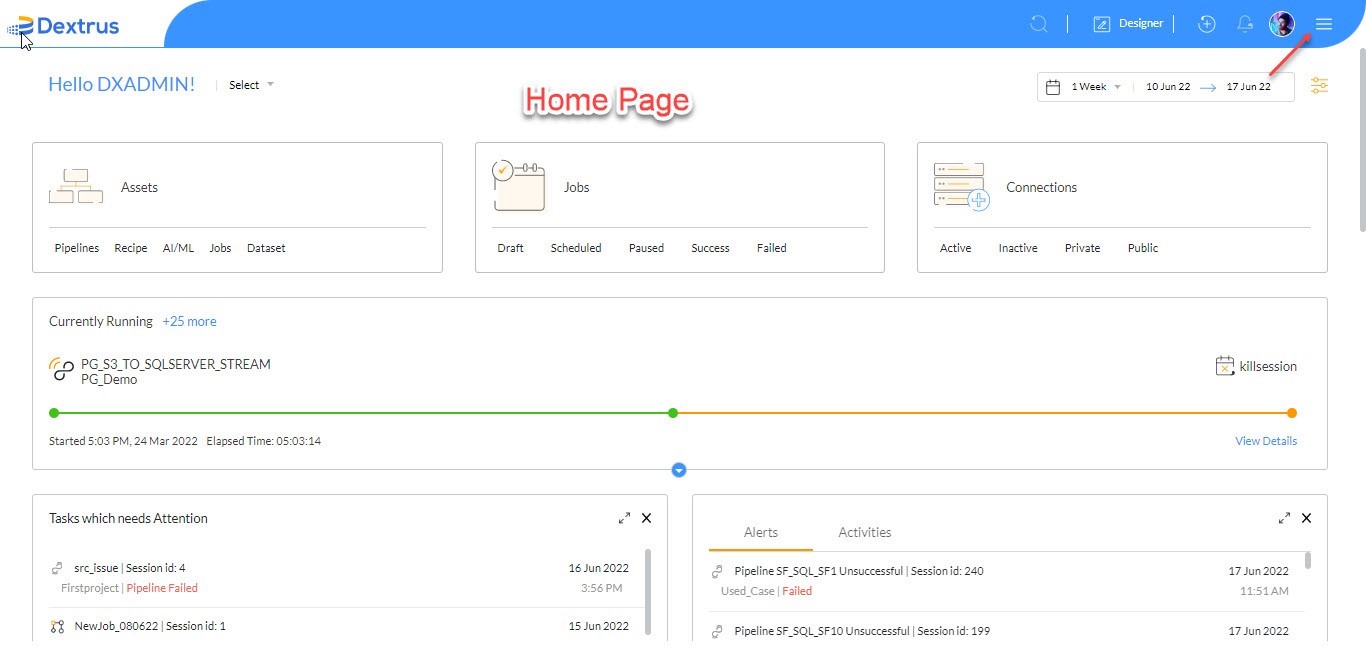
- Click the Connections option available under Admin Console.
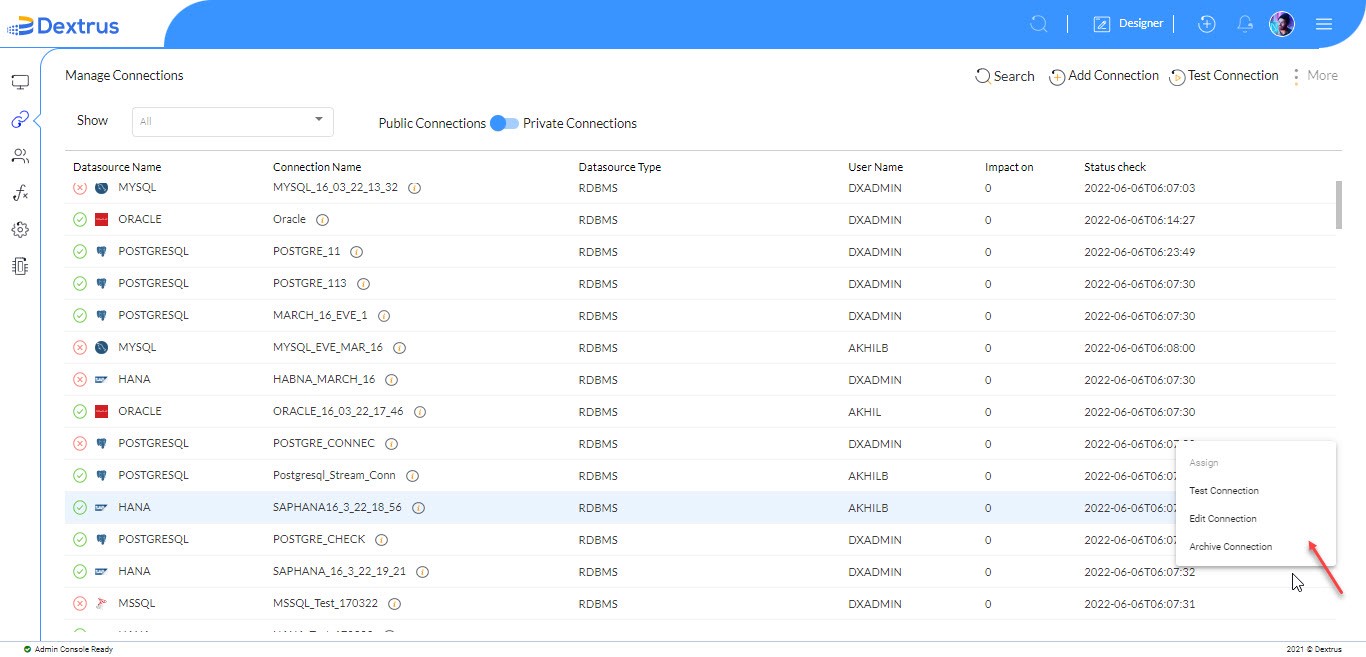
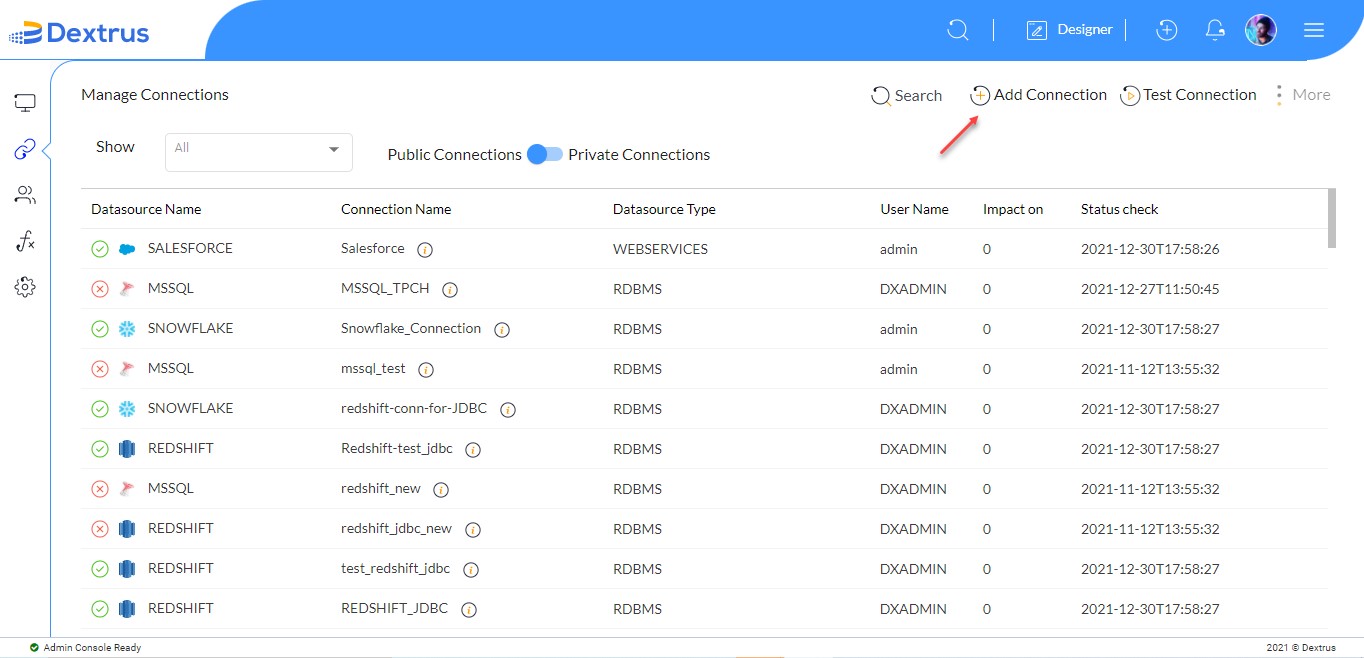
- The Manage Connections page is displayed. This page displays the existing connections created by all the users.
- Click the Add Connection icon:
 .
.
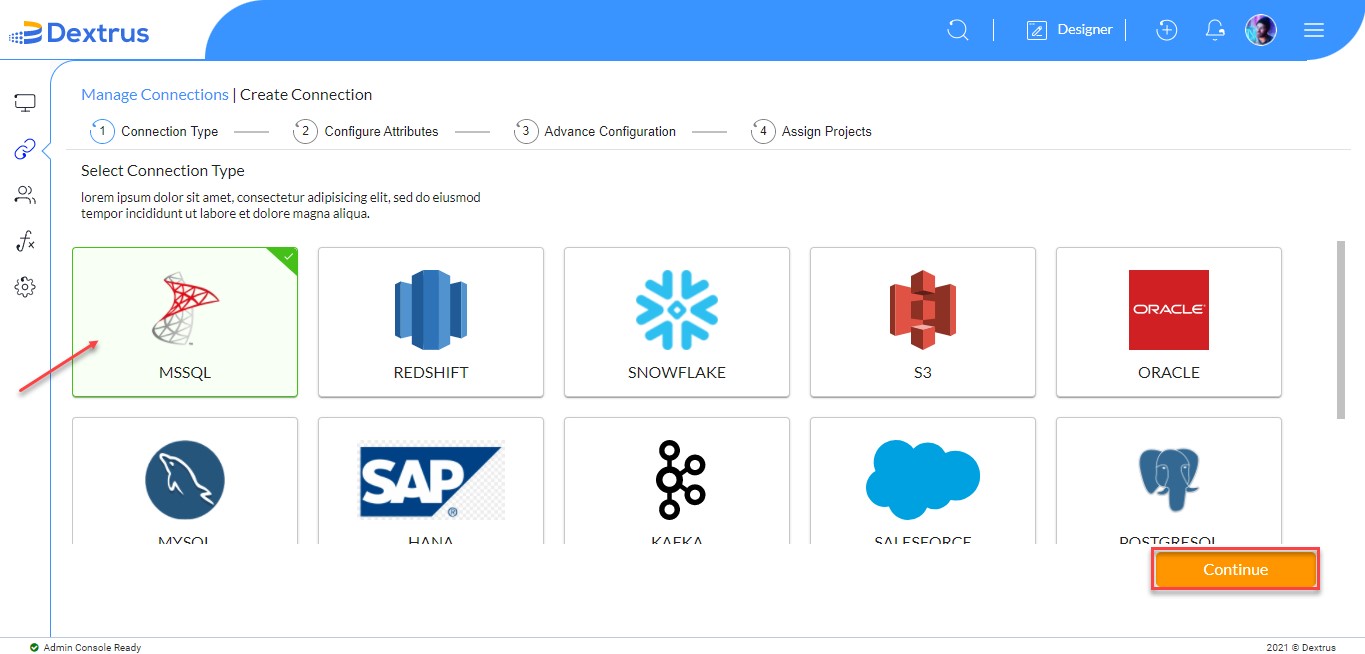
- The Create Connection page appears to display the available data sources supported by the Dextrus.
Note: All major data sources are integrated within Dextrus to provide a free hand for you to create a connection of your choice.
- Click on the required data source for example ‘MSSQL’.
- The selected data source (MSSQL) is highlighted with a green color border and a tick mark.
- Click the Continue button to proceed further.
Note: You can scroll down the page to view all the available data sources.
- The Configure MSSQL connection page appears where you have to fill in the Connection JDBC URL, User Id, and Password text fields.
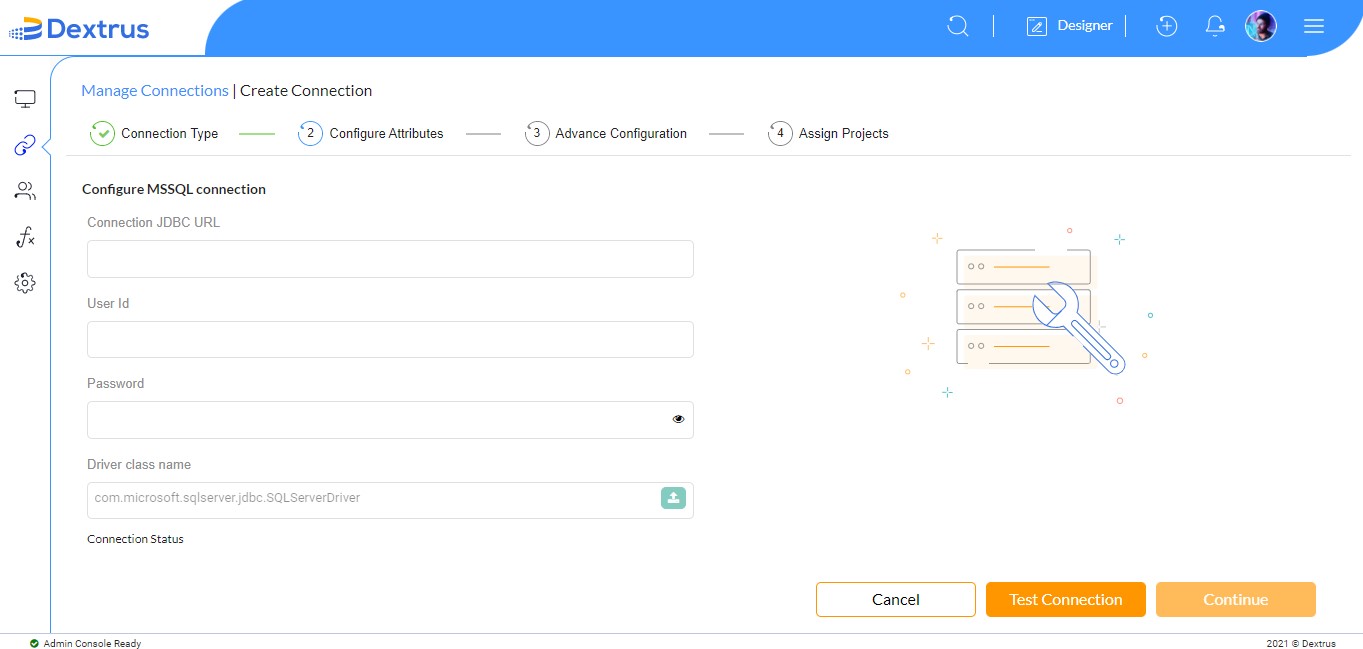
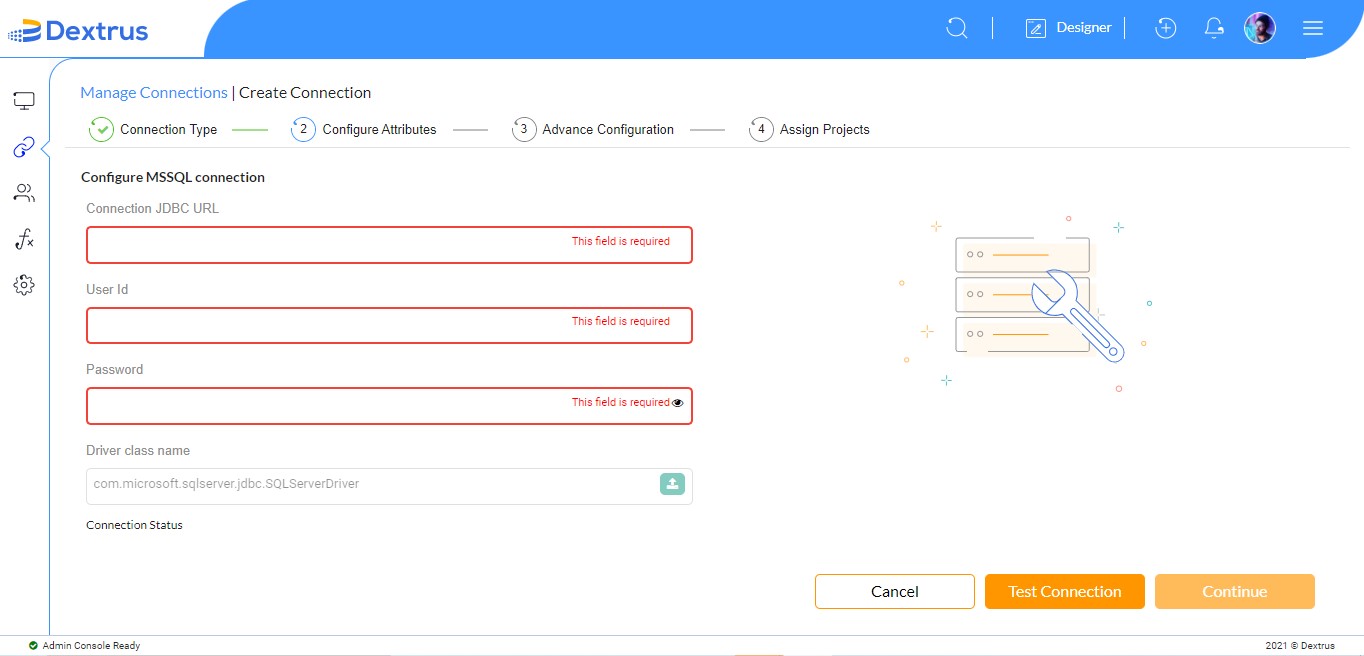
Note: All the fields are mandatory. The Driver class name is pre-populated. If you click the Test Connection button without filling the mandatory fields. A warning message is displayed highlighting the text fields in red color.
- Once the mandatory text fields are filled, the Continue button is activated beside the Test Connection button.
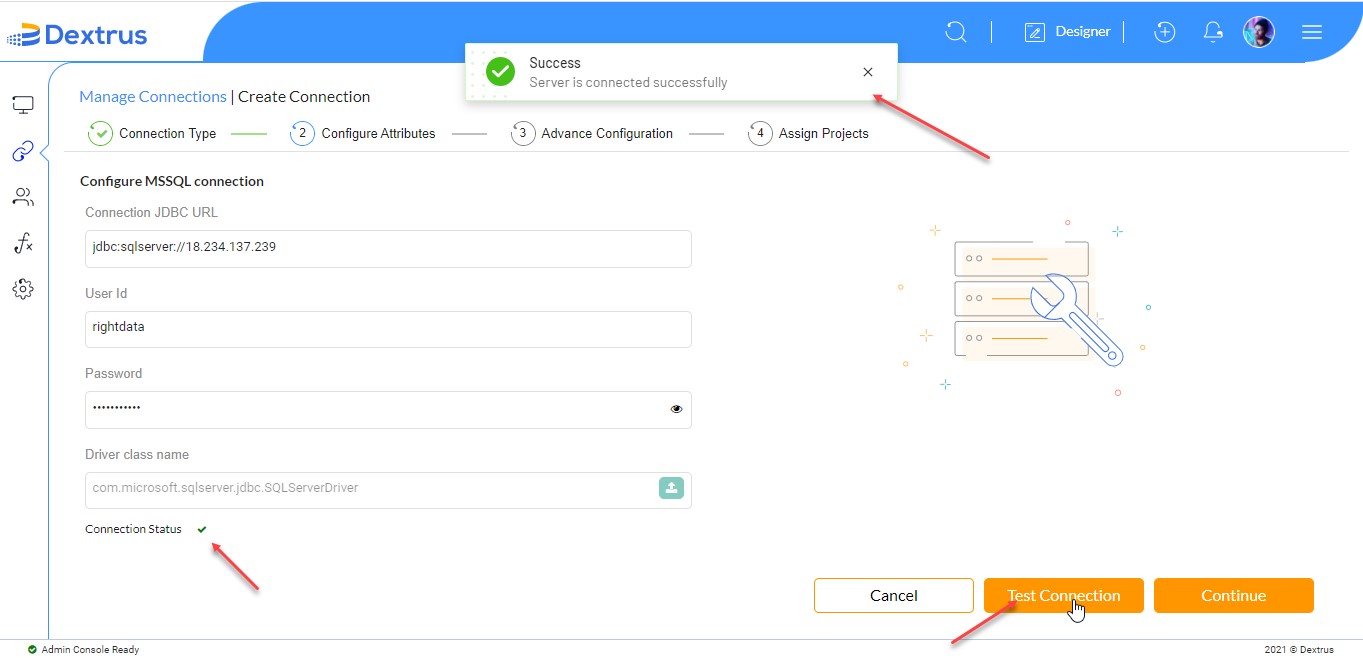
- Click the Eye icon: in the Password text field to view the typed password text.
- Click the Test Connection button to check whether the connection status is a success/failure.
- Once the connection is successful “Success – Server is connected successfully” message appears on the top of the screen and also a green tick mark appears against Connection Status.
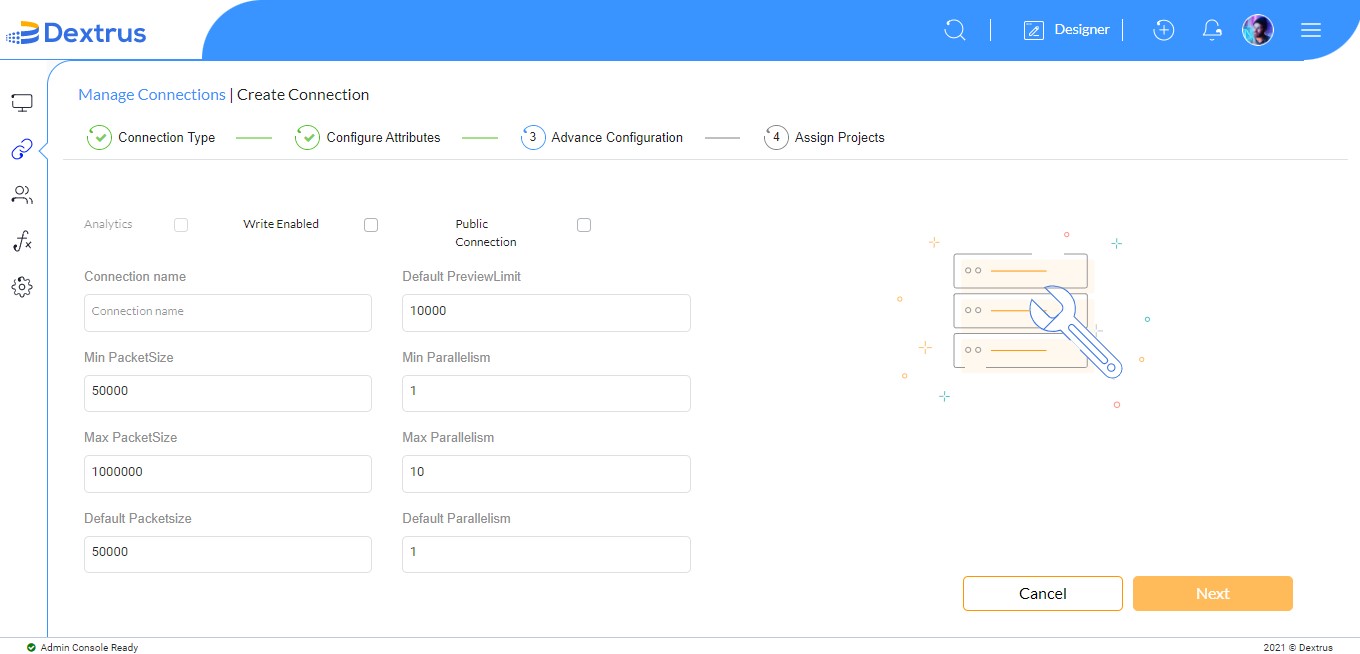
- Click the Continue button to complete the Advance Configuration settings.
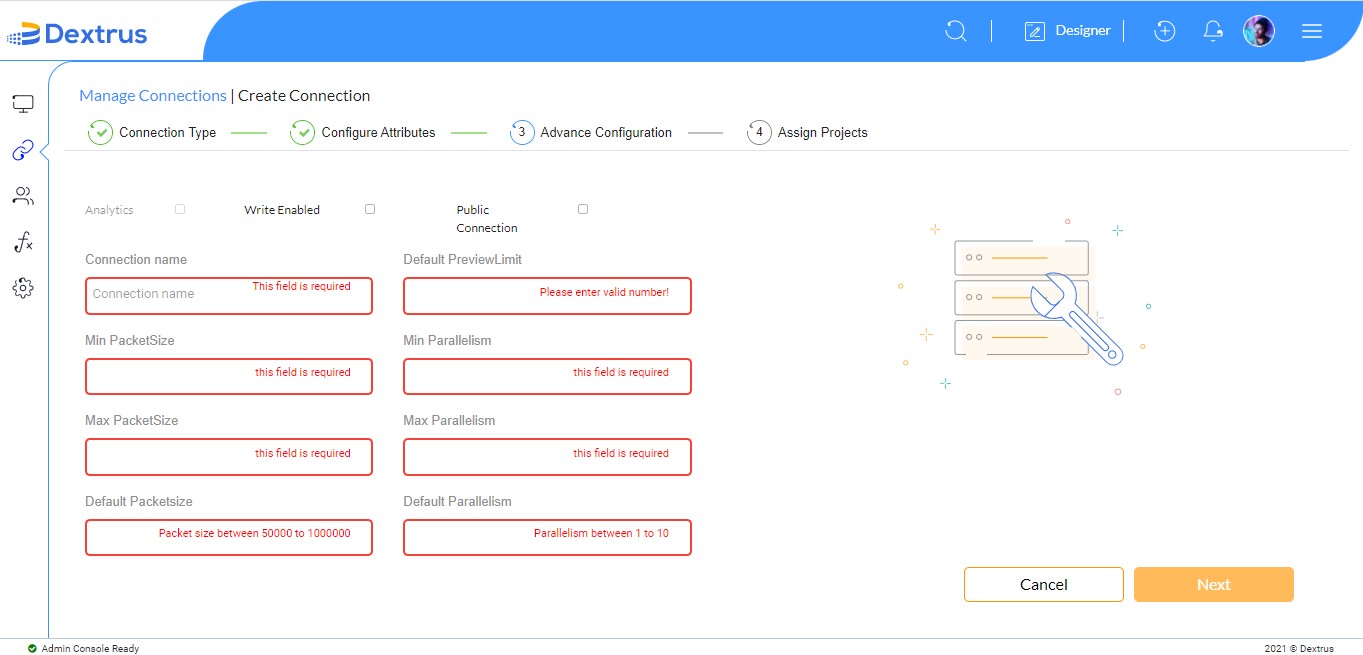
- A list of text fields (Connection name, Default PreviewLimit, Min PacketSize, Min Parallelism, Max PacketSize, Max Parallelism, Default Packetsize and Default Parallelism and checkboxes (Analytics, Write Enabled, and Public Connection) appear.
Note: The Default PreviewLimit, Min PacketSize, Min Parallelism, Max PacketSize, Max Parallelism, Default Packetsize, and Default Parallelism text fields are pre-populated with default values. You are given a free hand to modify the values as per your requirement.
- On the Advance Configuration page, configure the following properties:
| Property Name | Description |
|
Connection name |
A unique connection name is accepted |
| Default PreviewLimit | The default number of records that can be previewed at each widget can be set here. |
| Min PacketSize | The minimum packet size value can be declared here. Where Packetization helps to process data at a faster rate. |
| Min Parallelism | The minimum parallelism value can be declared here. Where parallelism enables to process data in parallel paths. |
| Max PacketSize | The maximum packet size value can be declared here. |
| Max Parallelism | The maximum parallelism value can be declared here. |
| Default Packetsize | The default packet size should be provided within Min and Max packet size values. |
| Default Parallelism | The default parallelism values should be provided within Min and Max parallelism values. |
| Analytics | |
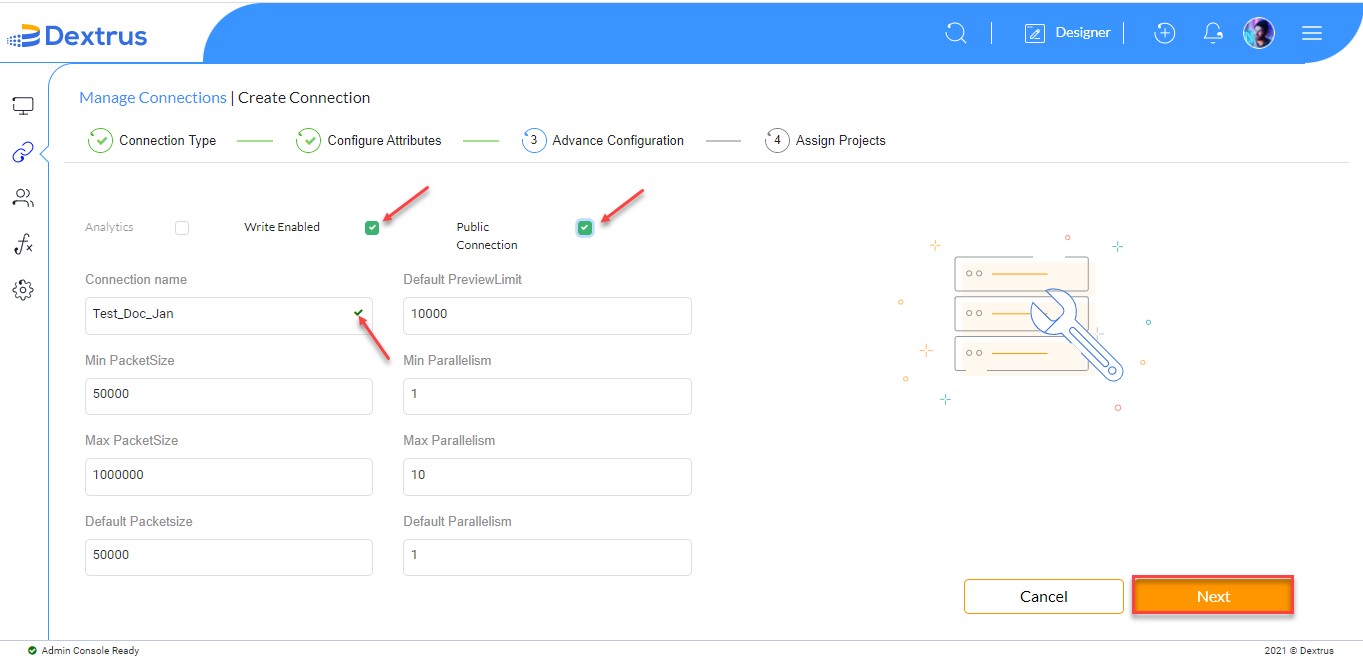
| Write Enabled | Enabling the Write Enabled checkbox allows changing the connection details for future use. |
| Public Connection | Enabling the Public Connection checkbox allows all users to use this connection. |
Note: If the Write Enabled checkbox is disabled during the connection creation it is not visible at the Sink connections.
Note: All the fields are mandatory. If you erase the default text populated in the mandatory fields. A warning message is displayed highlighting the text fields in red color.
- If the typed connection name is unique, a green color tick mark is seen in the text field. This green color tick mark denotes that the typed connection name is available for use.
- Click the Next button to confirm the Advance Configuration settings.
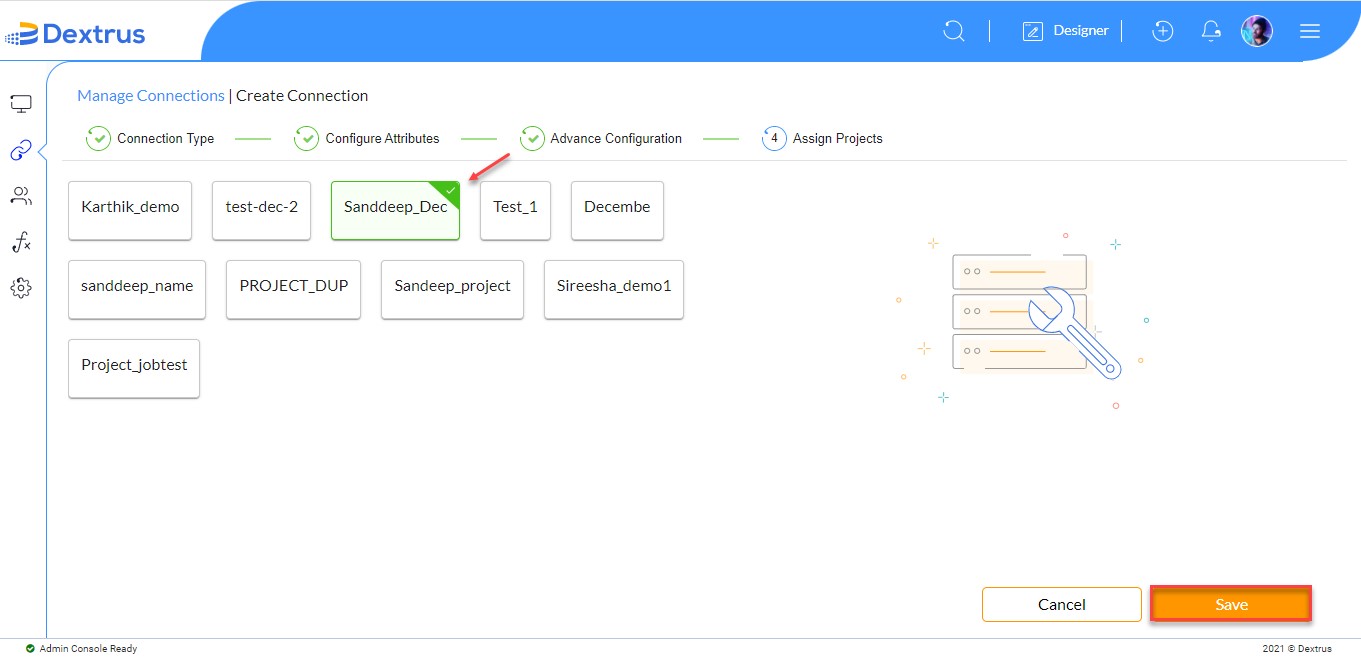
- The Assign Projects page is displayed. Where you can tap on the desired project names to assign those projects to the new connection.
Note: The Project names displayed on Appear Projects page are created from the My Projects feature.

- Click on the required project name for example “Sanddeep_Dec”.
Note: Single/multiple projects can be assigned at a time to the new connection.
- Click the Save button to save the assigned project settings.
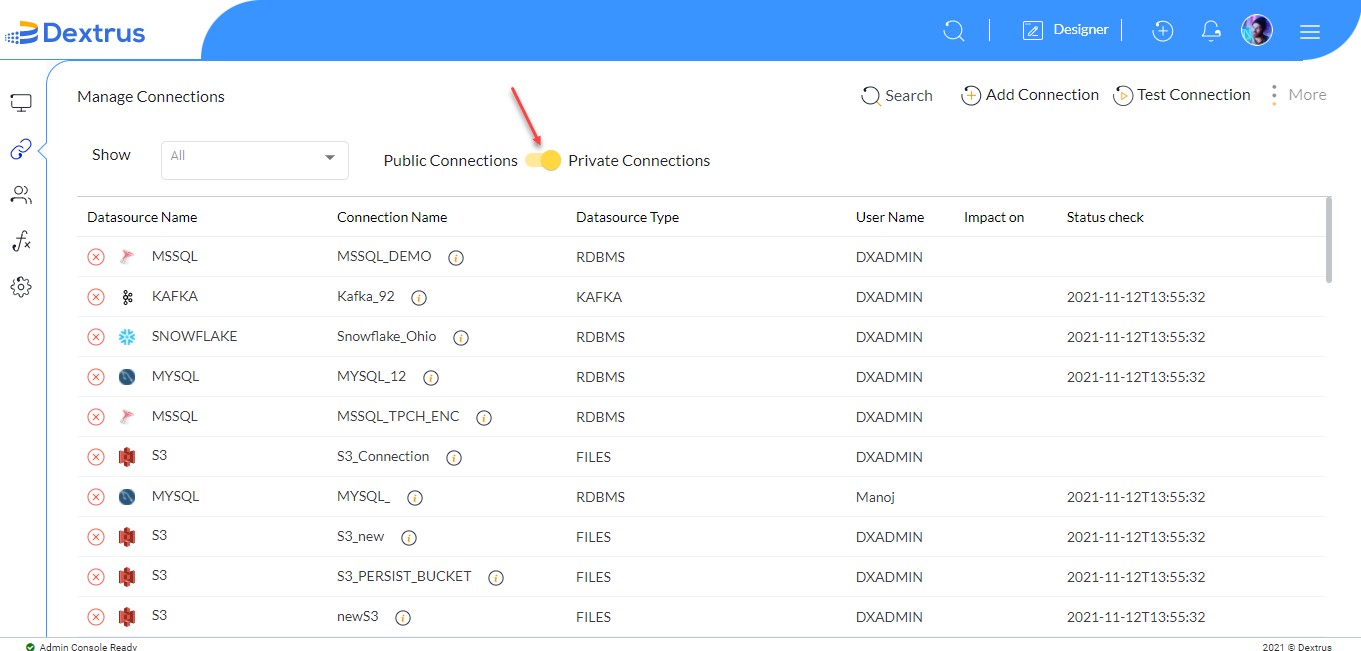
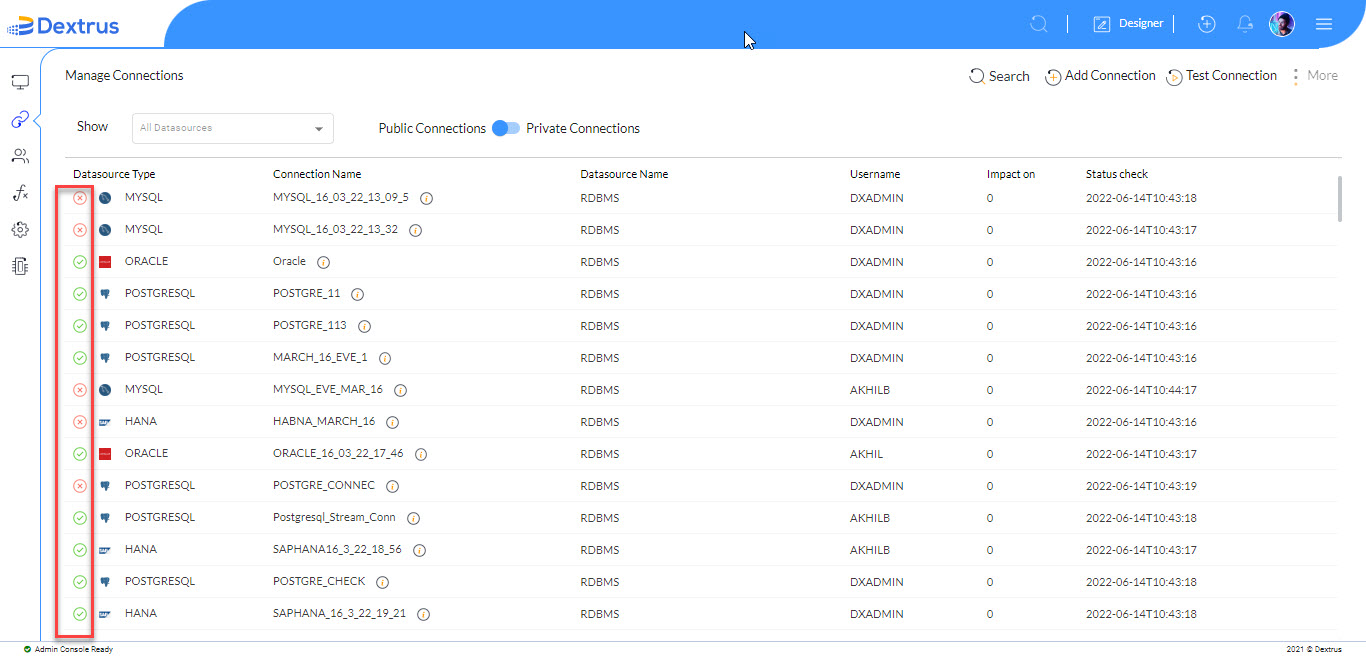
- Once the new connection is created you are directed to the Manage Connections page where the list of all available connections (Active and Inactive) is displayed.
Note: By default, Public Connections are displayed.

- Click the Toggle switch button:
 to switch between Public and Private connections.
- Click the Show drop-down list button:
 to view the connections list for the selected data source. This helps to drill down the results precisely.
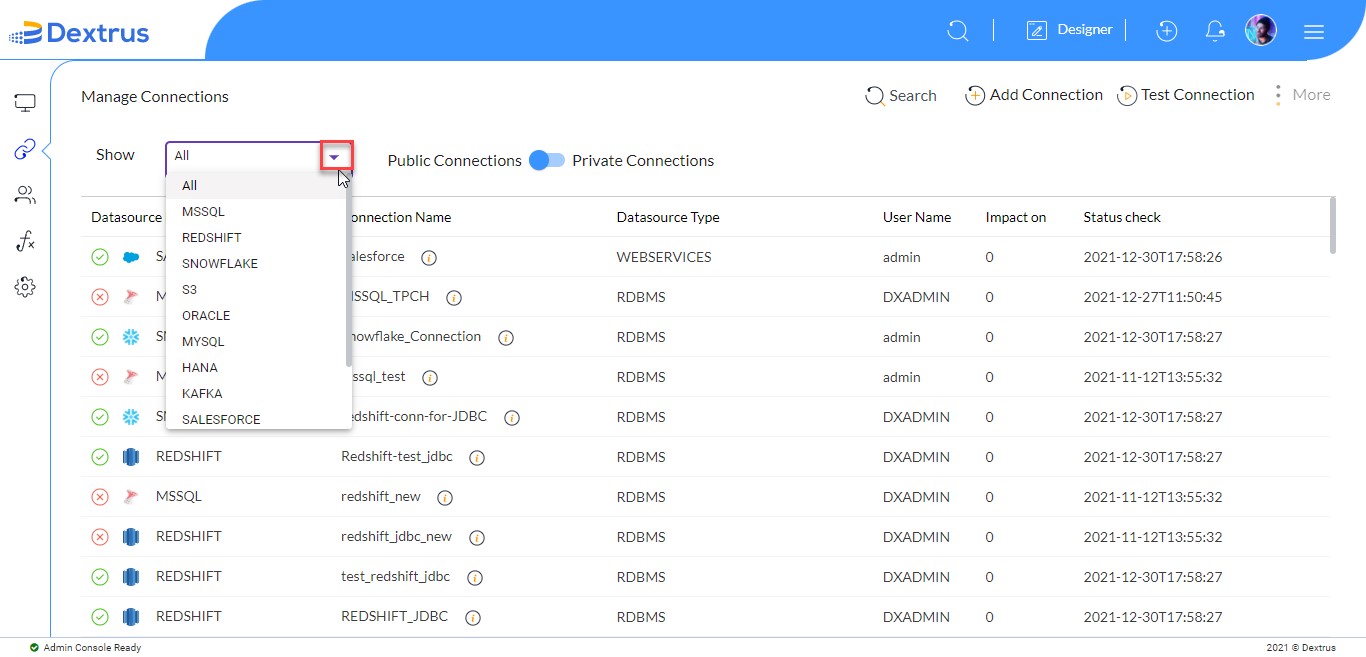
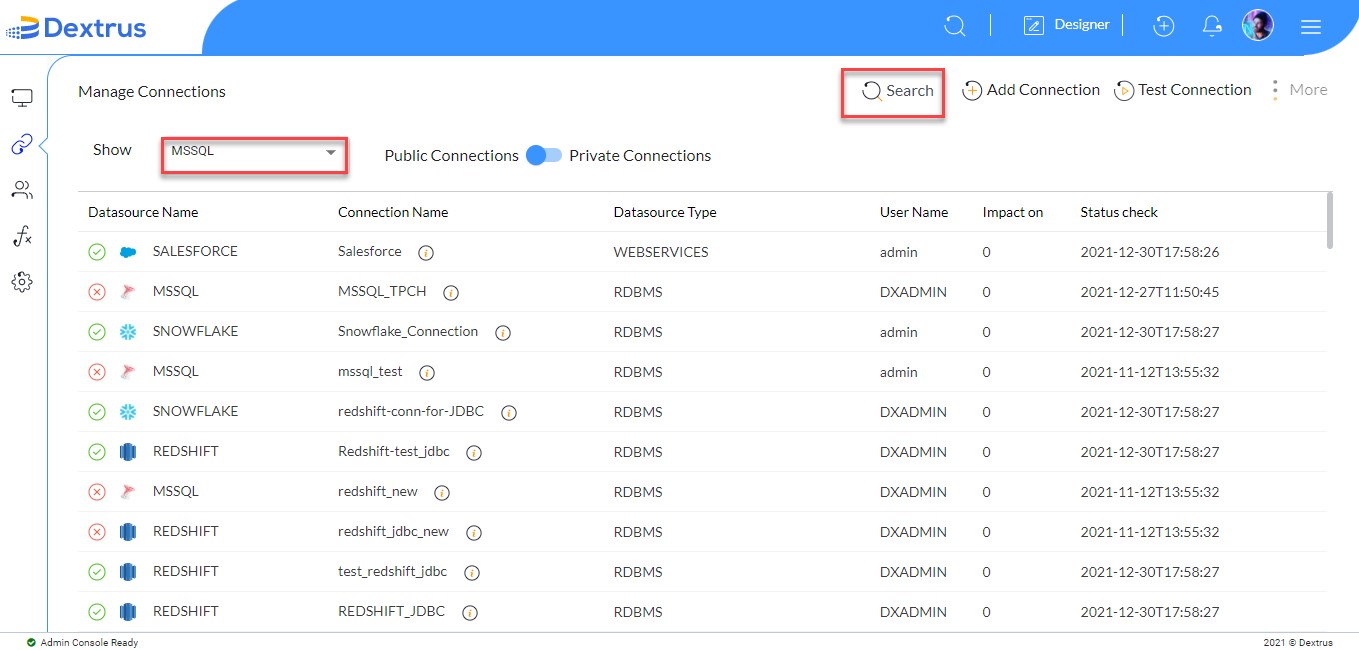
- Select the ‘MSSQL’ data source option from the Show drop-down list. The connections of MSSQL are displayed.
- Alternatively, a Search icon:
 is provided to directly search and find the required connection by typing in the Search text field.
- The newly created connection ‘Test_Doc_Jan’ is visible on the Manage Connections page.

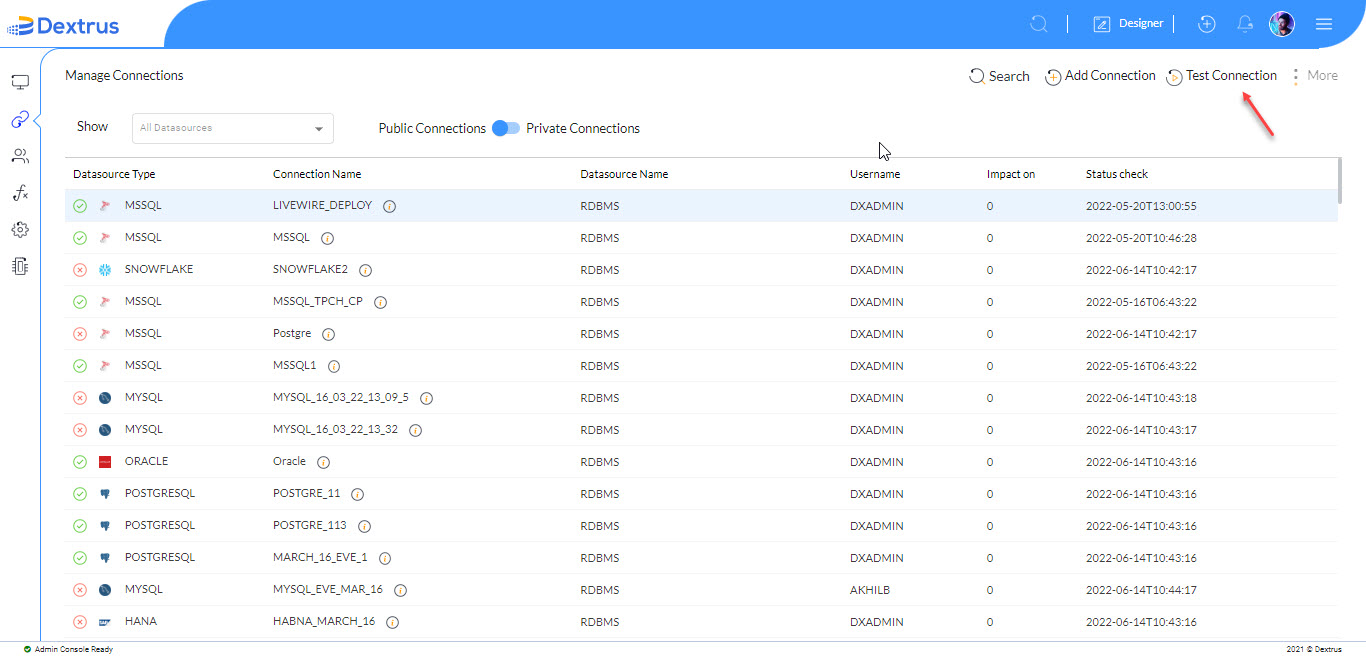
- Click the Test Connection icon:
 icon beside Add Connection to test all the connection’s status.
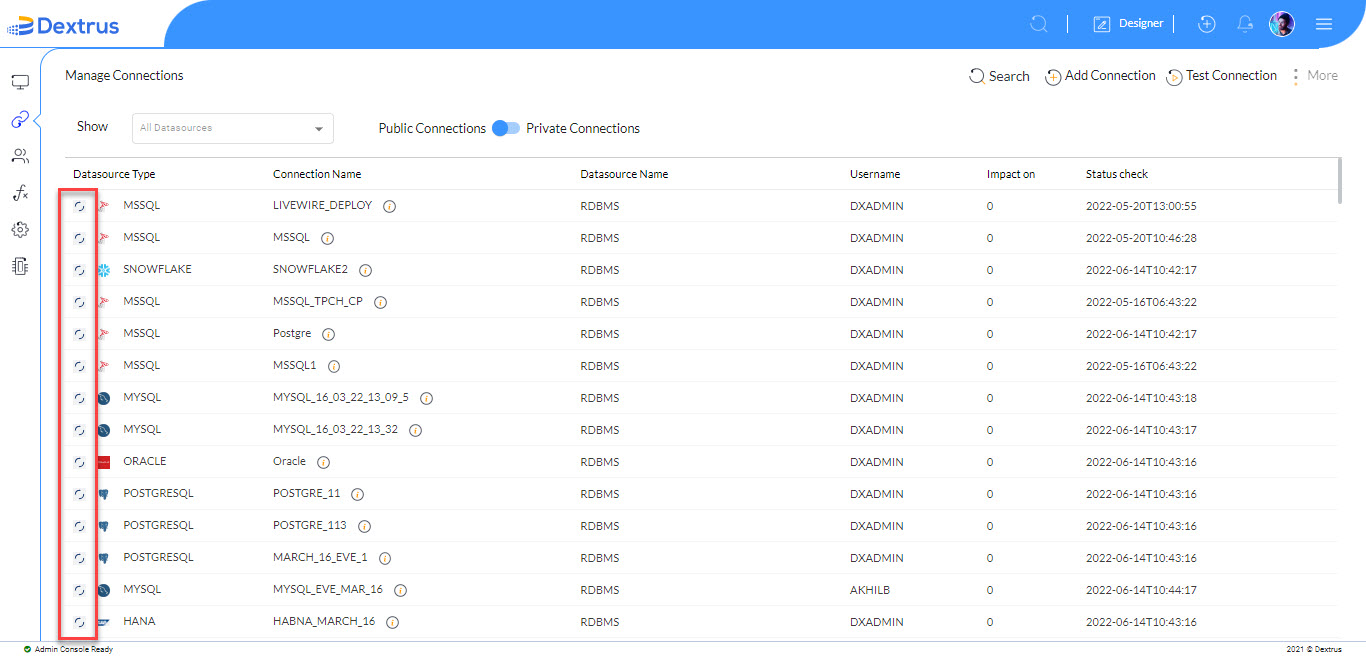
- A processing icon:
 is displayed against all the Datasource Type column.
- Once the Test Connection process is completed, a green icon:
 denotes Active connection, and a red color icon:
  denotes Inactive connection.
- Click the vertical ellipses options icon against a connection.
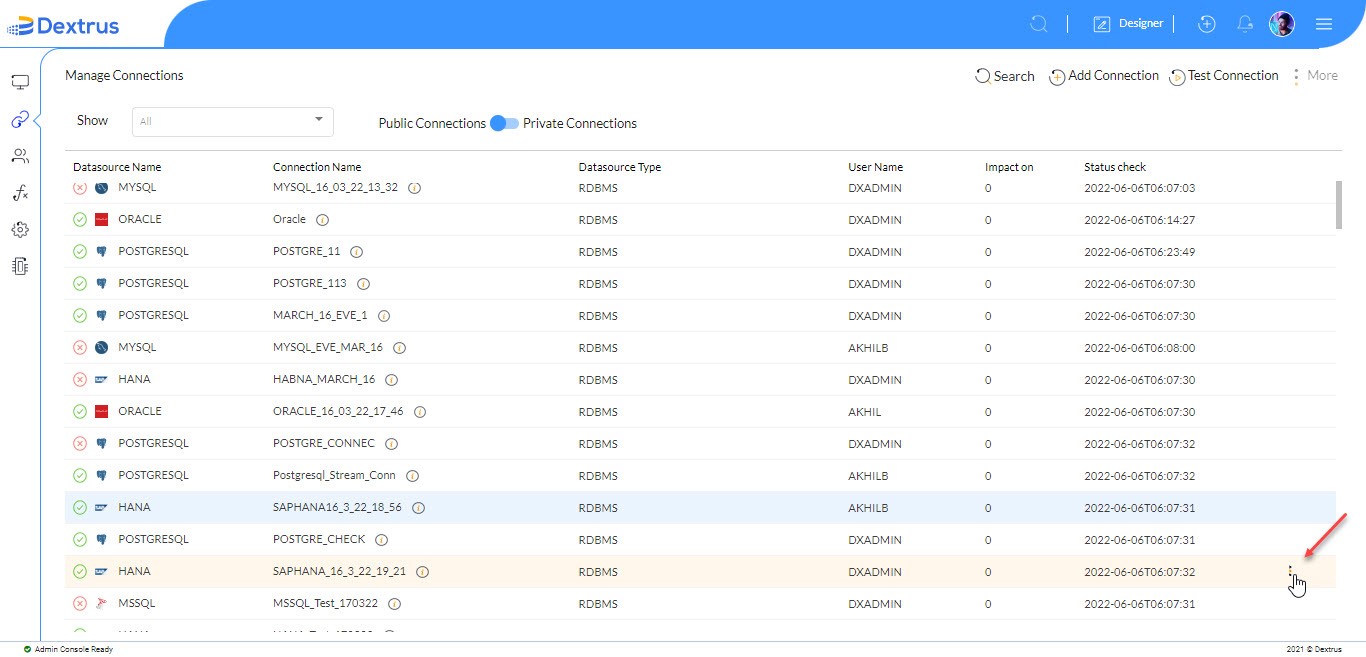
- You can see a list view: Assign <Under Development>, Test Connection, Edit Connection, and Archive Connection.