The Send email notification rule sends alerts and notifications through an email upon completion status of the jobs. For every job only a single email is received by the recipient.
Note: For example, if the job contains more than one asset. Irrespective of the number of assets in the job only a single email notification is sent to the recipient that represents each asset status.
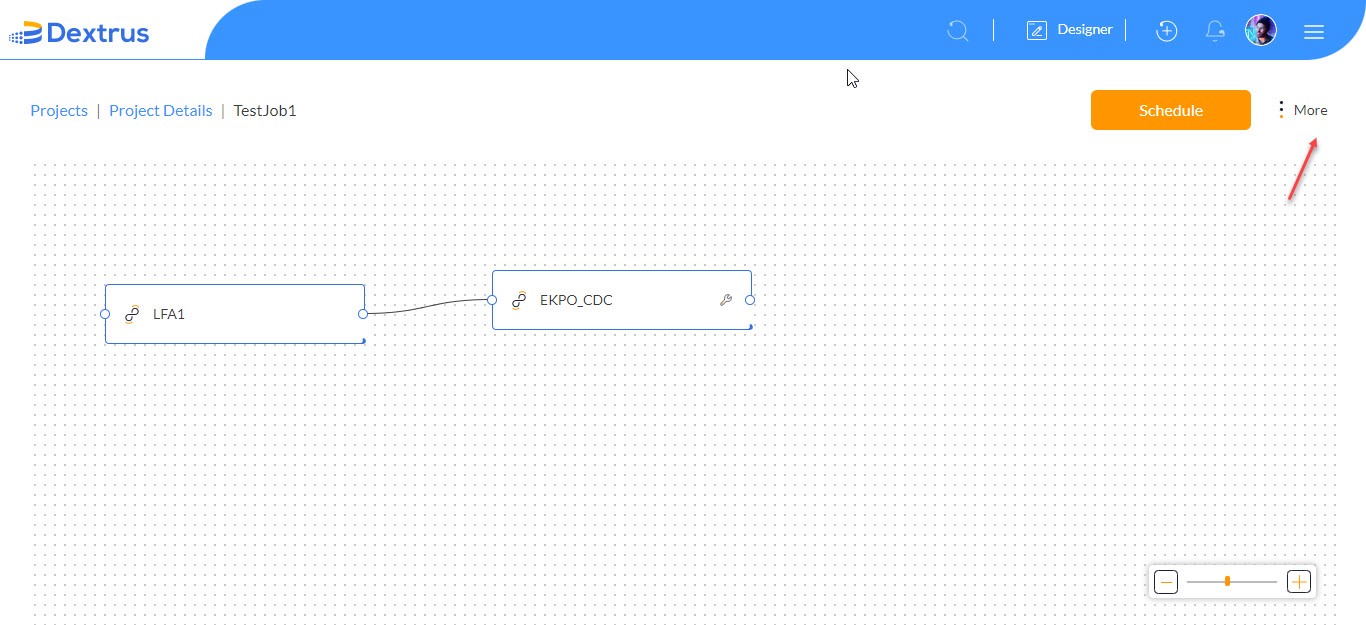
- To save the assets for the created job, click More option.
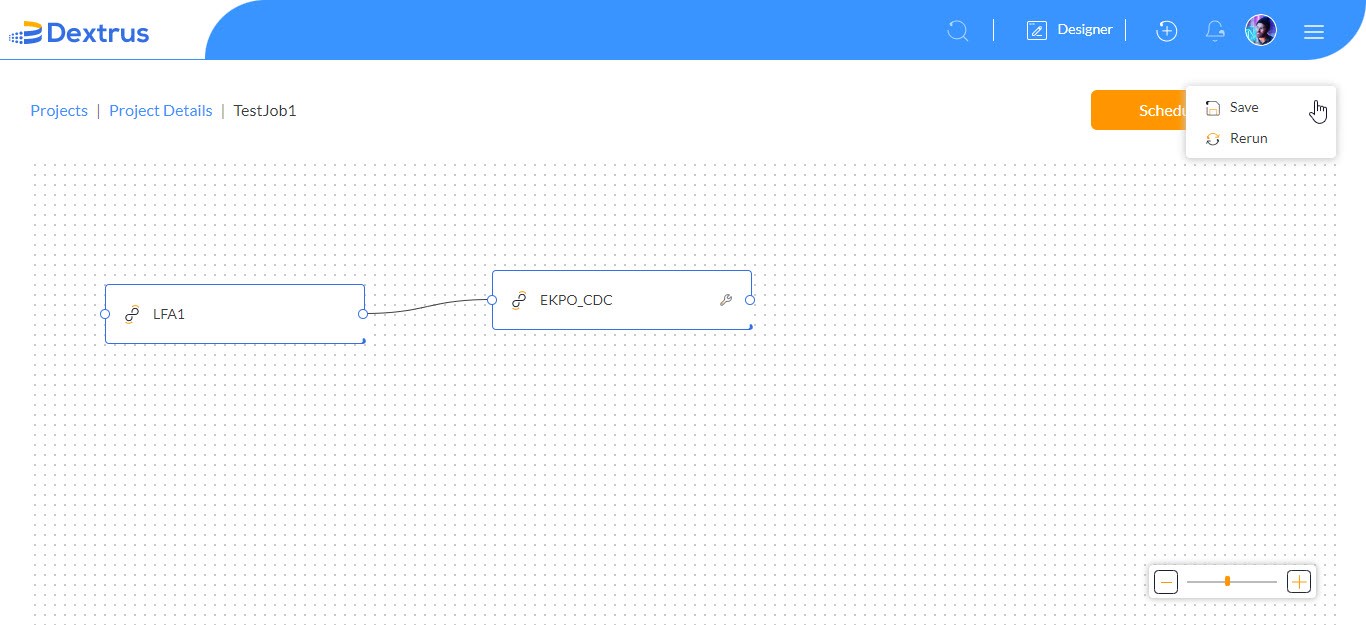
- Click Save option to save the assets.
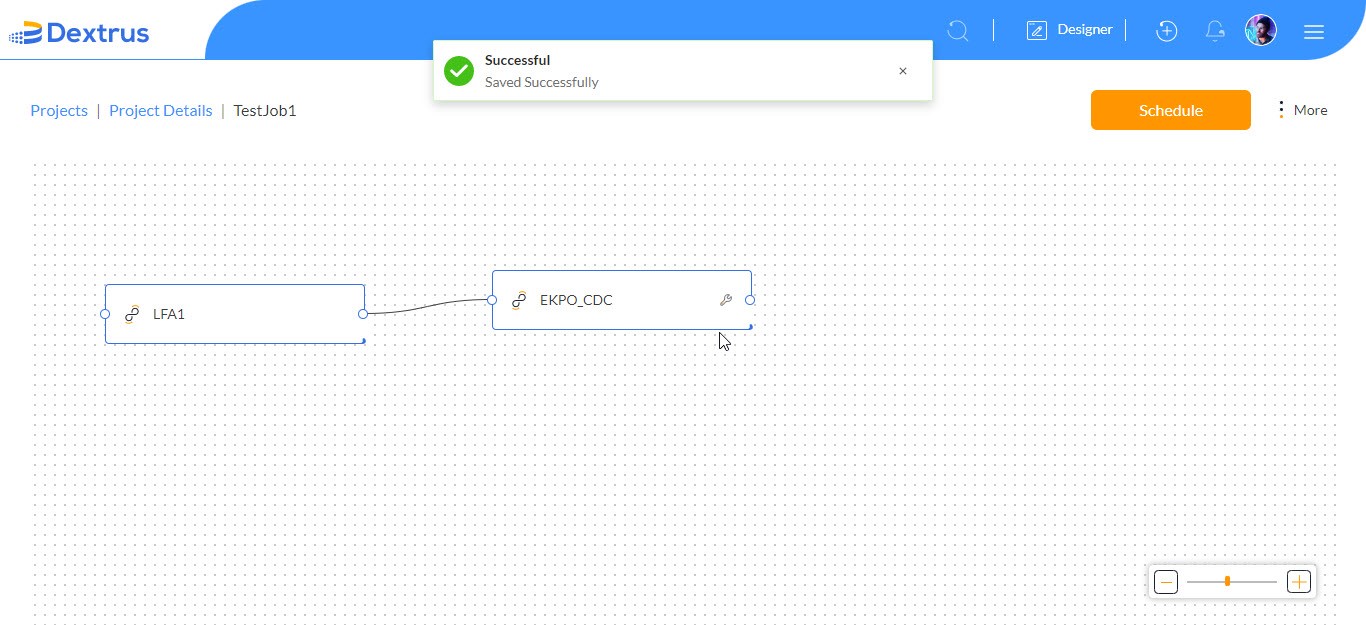
- A message ‘Saved Successfully’ appears on the top of the page.
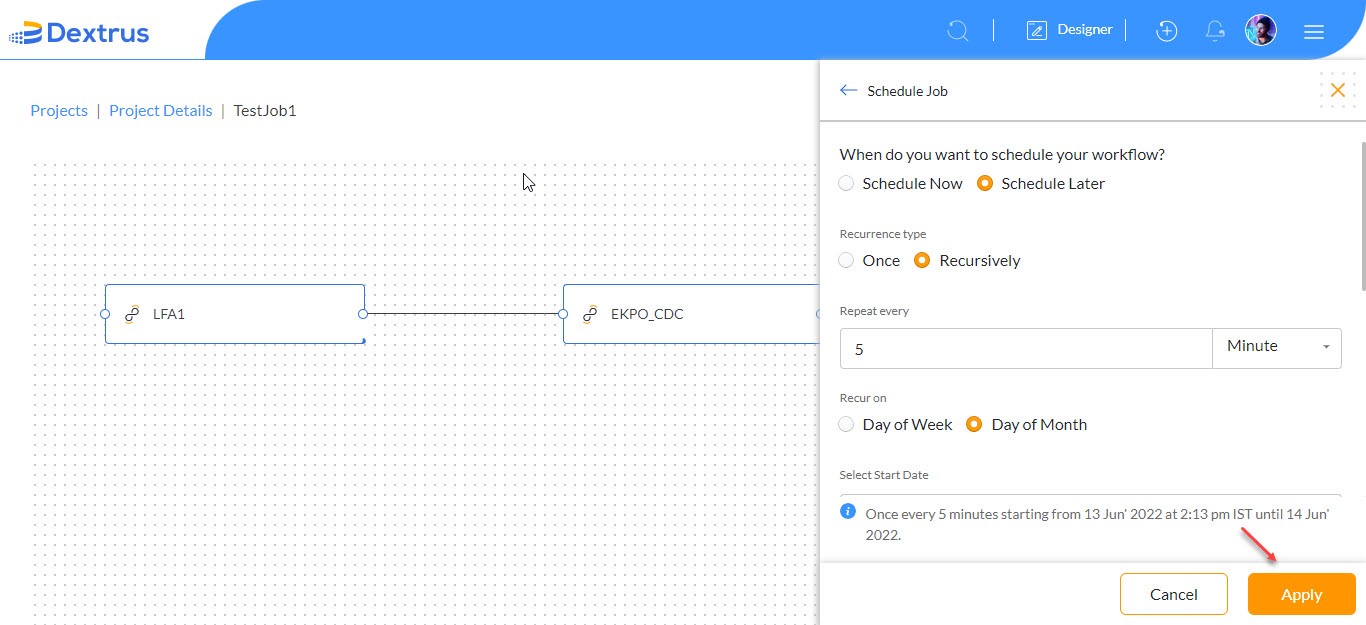
- To configure job-level email notification, click the Schedule button.
- Select the required options (Schedule workflow, Recurrence type, Repeat every, Recur on, Select Start Date, Select Start Time, End Recurrence by and Select End Date).
- Select the ‘Send Email Notification rule Send Email for this job’ option.
- Click the Apply button to save all the changes.
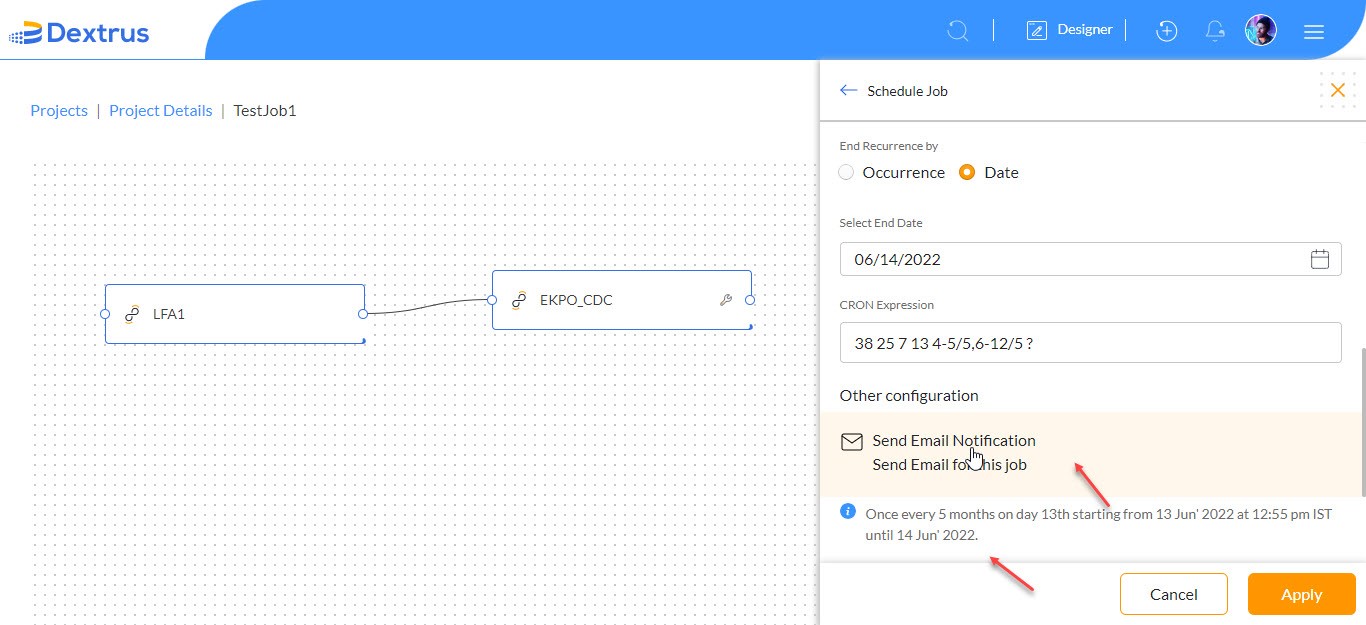
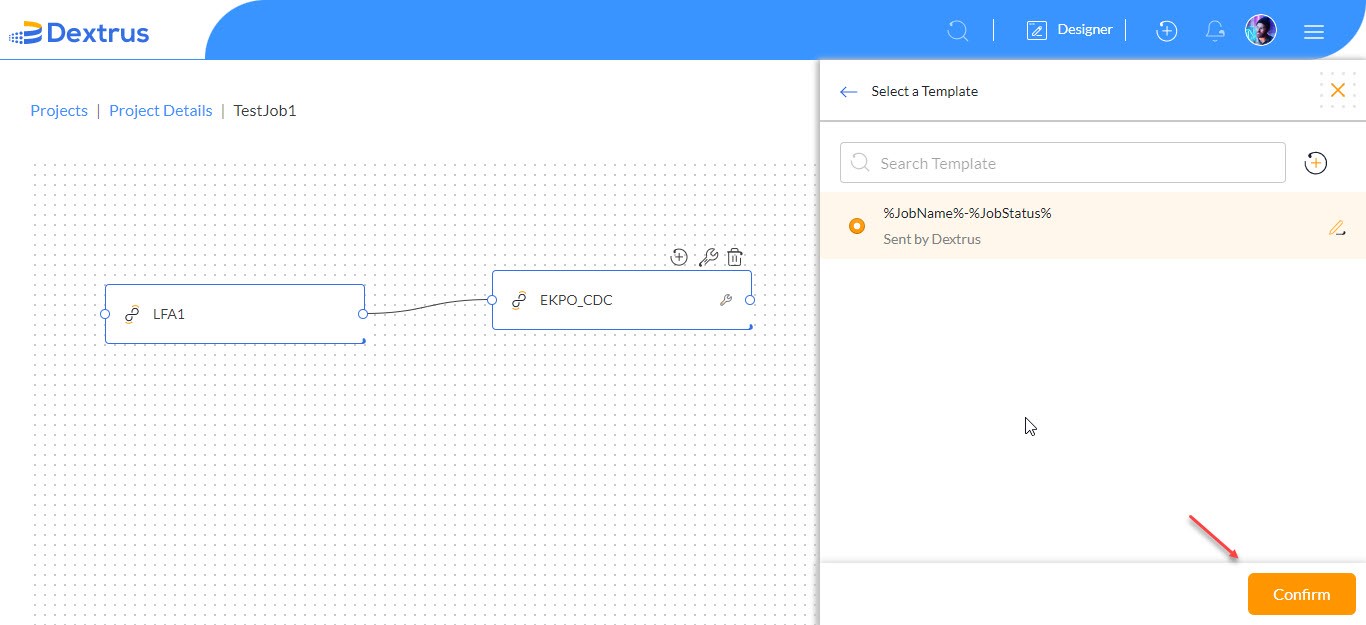
- Click the Select option in the Select Email Template field to select an email template.
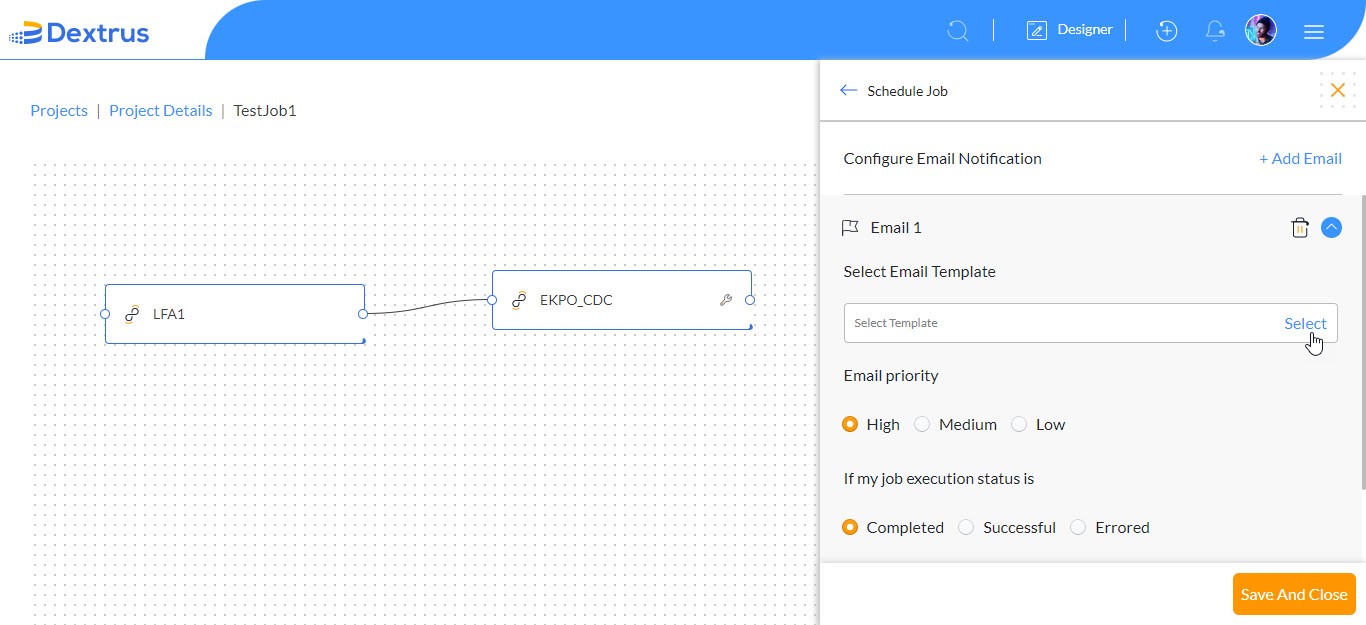
- Select the ‘Dextrus Job’ email template.
- To edit the existing template, click the Edit option beside Dextrus Job email template.
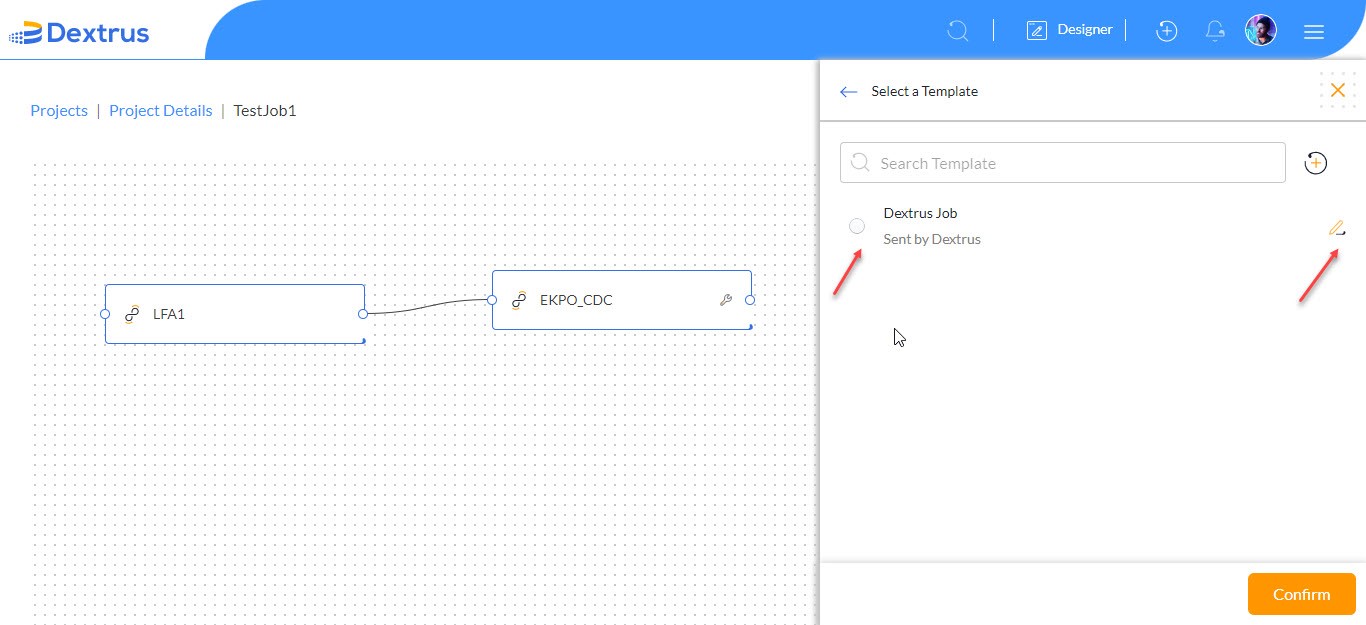
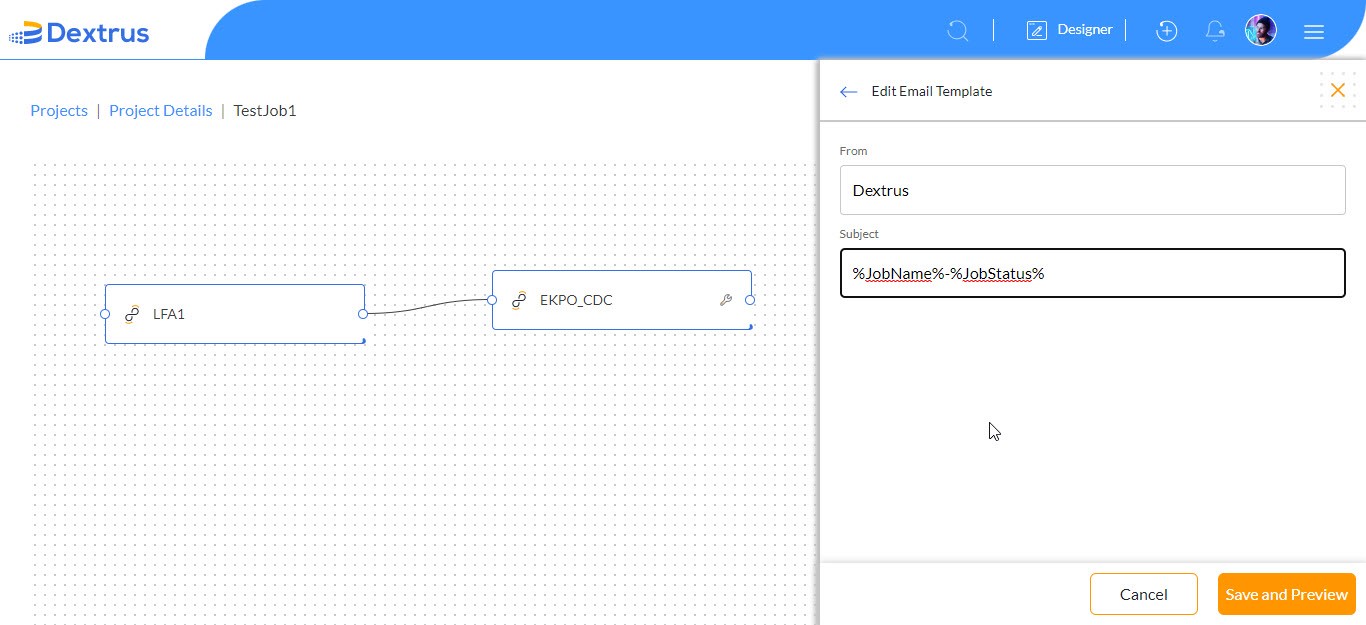
- Since this workflow is about showcasing Send Email Notification (Job-Level), update the Subject text field with ‘%JobName%-%JobStatus%’ text to easily differentiate the JobName along with its status.
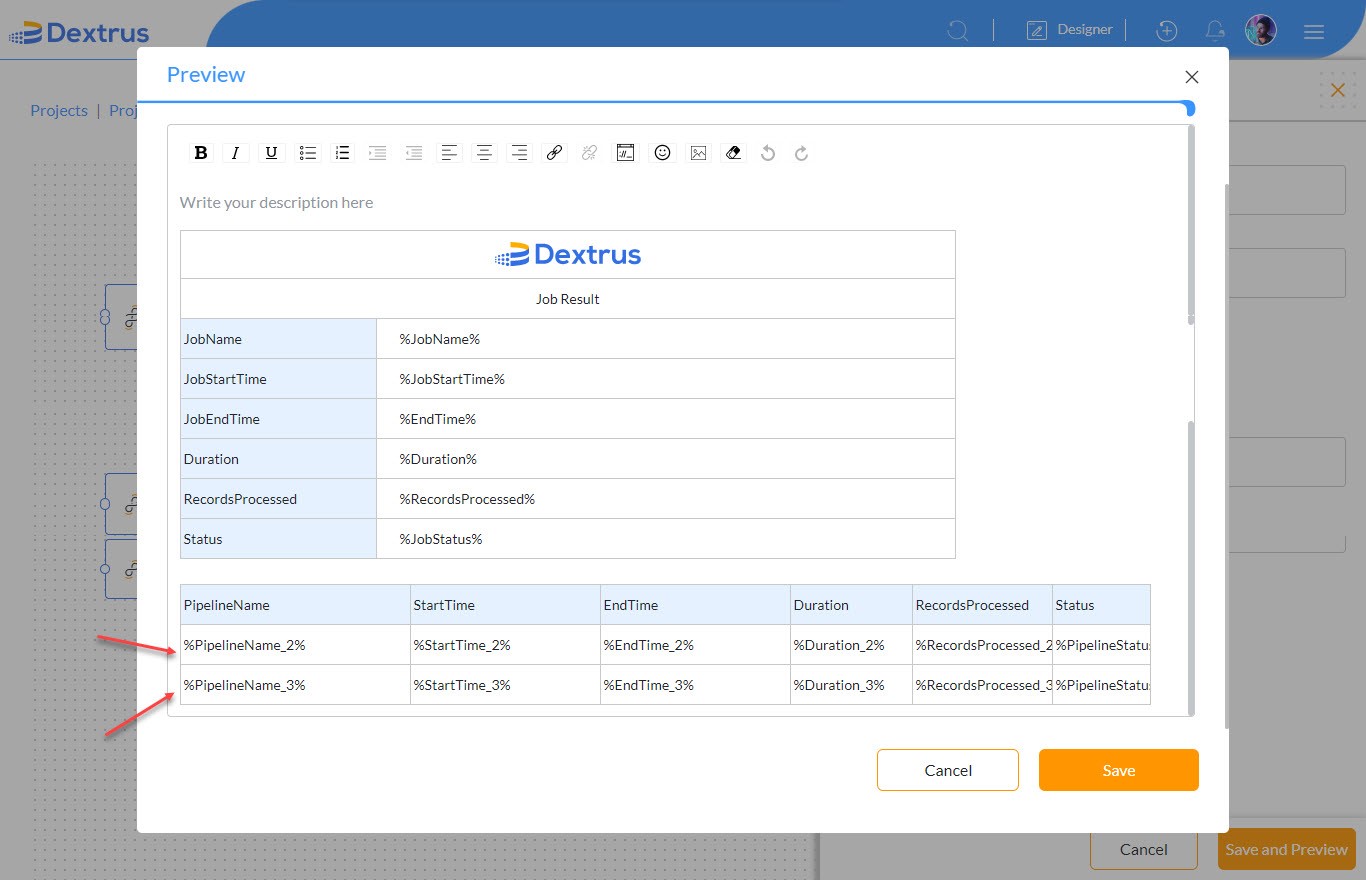
- Click the Save and Preview button to preview the created email template.
- The Preview pop-up window appears with all details.
Note: The Preview displays two pipelines since two assets were added to the created job.
- Click the Save button to save the created email template.
- Click the Confirm button to confirm the selected email template.
Note: The Add icon in the screenshot is not functional it will be enabled in the future build.
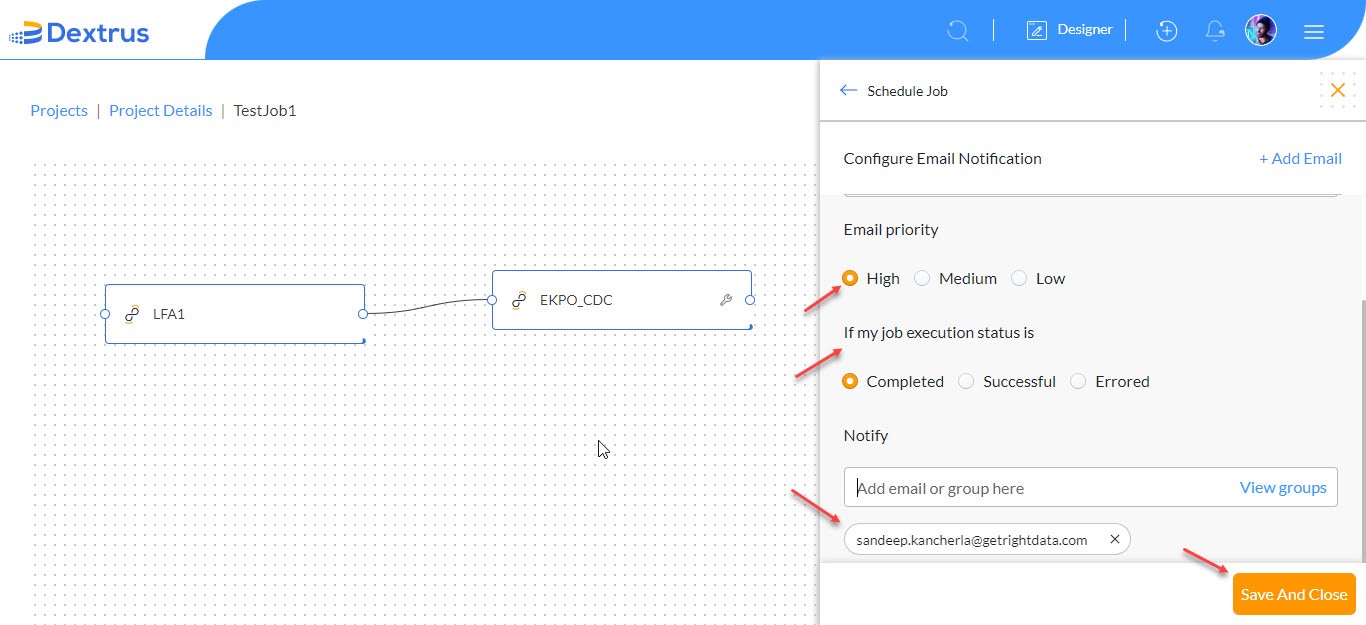
- Set the appropriate email notification configuration settings.
- To notify the users with the email notification, type an email id in the Add email or group here text field.
- Click the View groups text to add available groups for the email notification.
- Click the Save and Close button to confirm the selected email template.
Note: Selecting any group from View groups option doesn’t send email notification to the selected group. [This functionality will work in future build]
- Click the Apply button to apply all the changes.
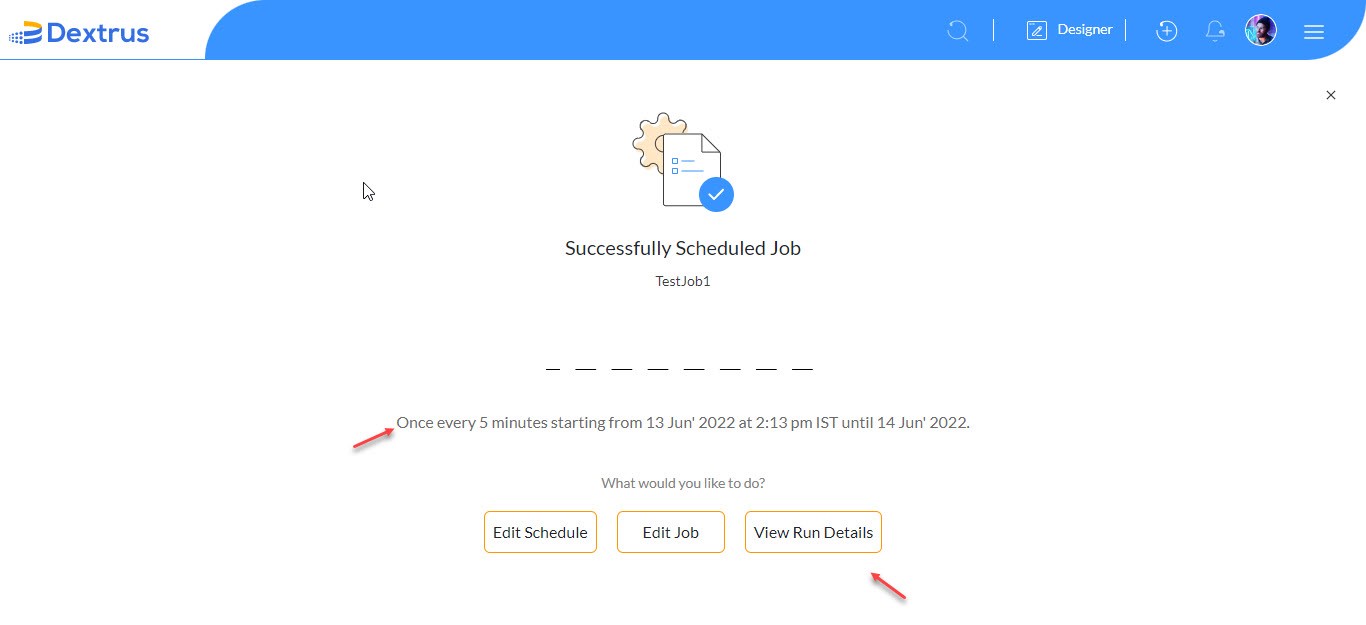
- The scheduled job executes successfully based on the schedule settings.
- Click the View Run details button to view the Run Results.
Note: You can click ‘Edit Schedule’ or ‘Edit Job’ button to edit the Job and Schedule details.
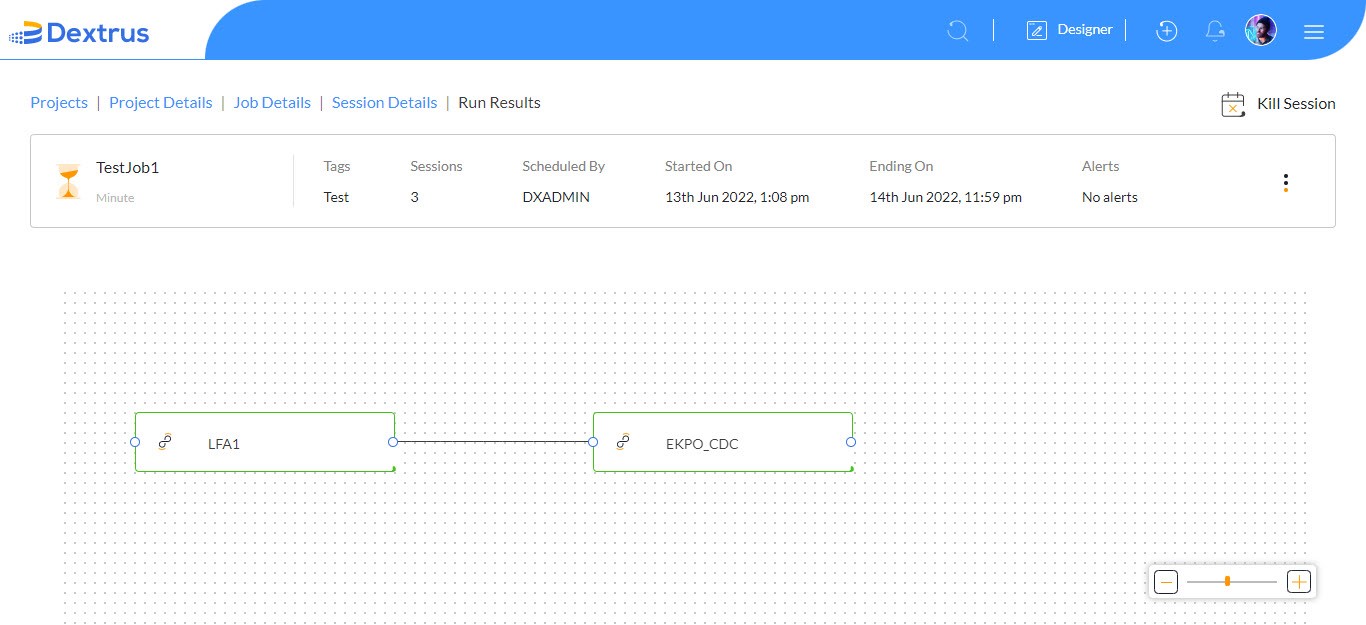
- The Run Results page is displayed with all the job details.
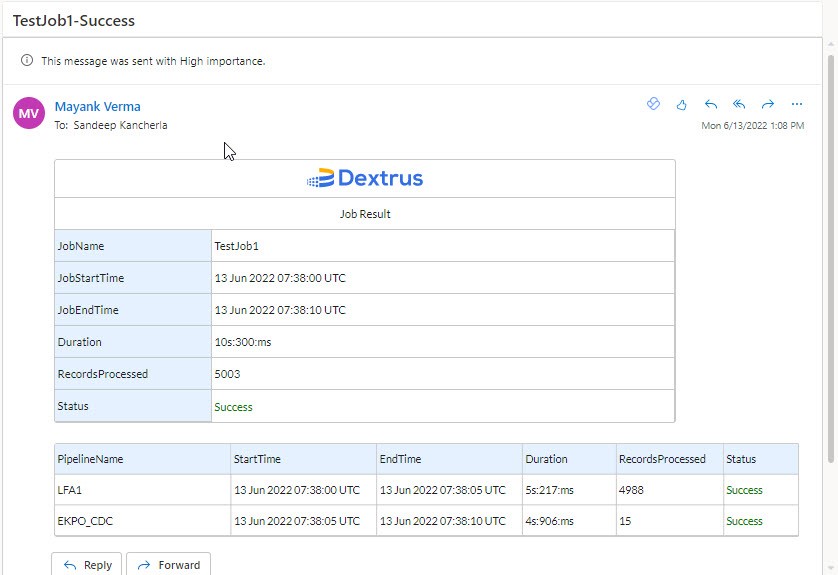
- As per the job schedule the email notification has been sent to the recipient with Pipeline Names and other details.
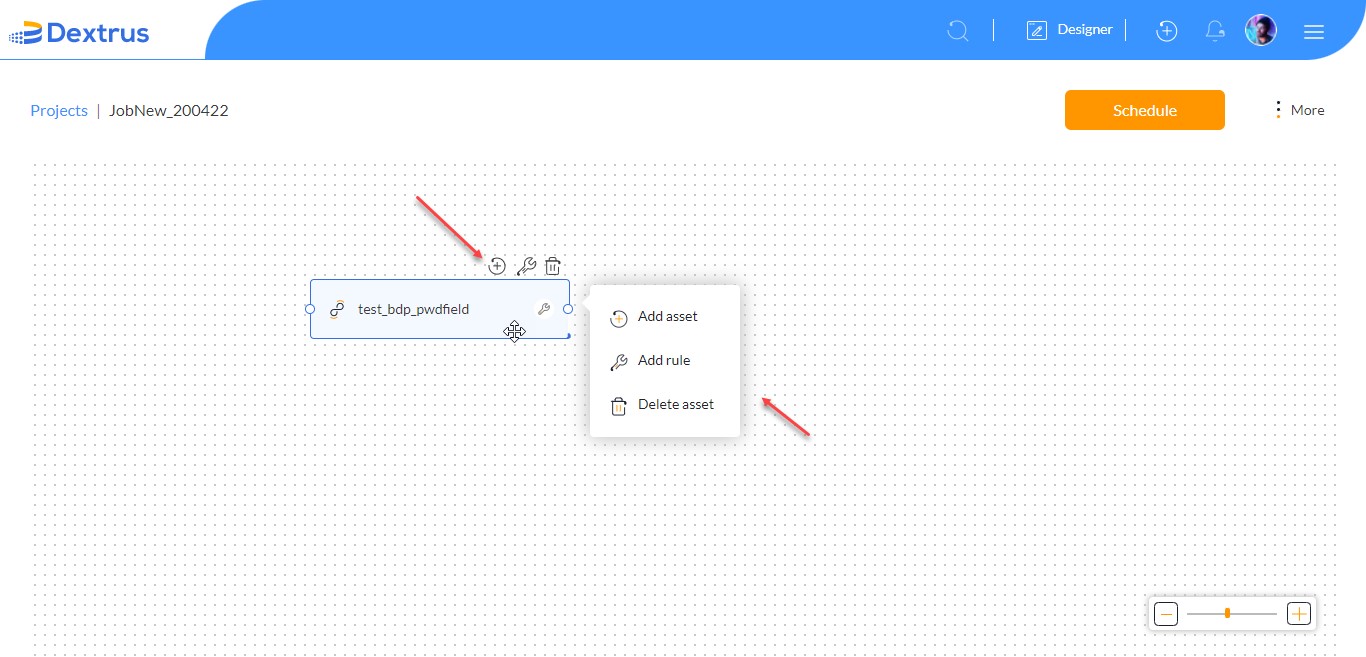
A brief description of the options available when you click the Plus icon on the configured asset.
| Option |
Description |
| Joined node | A joined node (asset) creates another node that is dependent on the previous node’s execution status. |
| Disjoined node | A disjoined node (asset) creates an independent node that is independent of other nodes. |
| Add rule | A new rule can be added (Pre and Post-Condition rules) to the existing or a new asset. |
| Delete asset | The asset is deleted. |
Note: Joined/Disjoined nodes option appears only after the asset is configured.
A brief description of the options available on the asset when you right-click on it.
| Option | Description |
| Add asset | A new asset is added beside the current asset. |
| Add rule | A new rule can be added (Pre and Post-Condition rules) to the existing or a new asset. |
| Delete asset | The asset is deleted. |