The Route node is an active transformation to create multiple routes for the incoming source data. This node is also widely used to create multiple filter conditions and fed generated output data to multiple target systems.
The route node has two ports. One input port and multiple output ports.
Input Port -> Data that needs to be routed is connected to the input port of the route node.
Output Port -> Multiple outputs are generated depending on the routes created by the user.
Configure the Route Node:
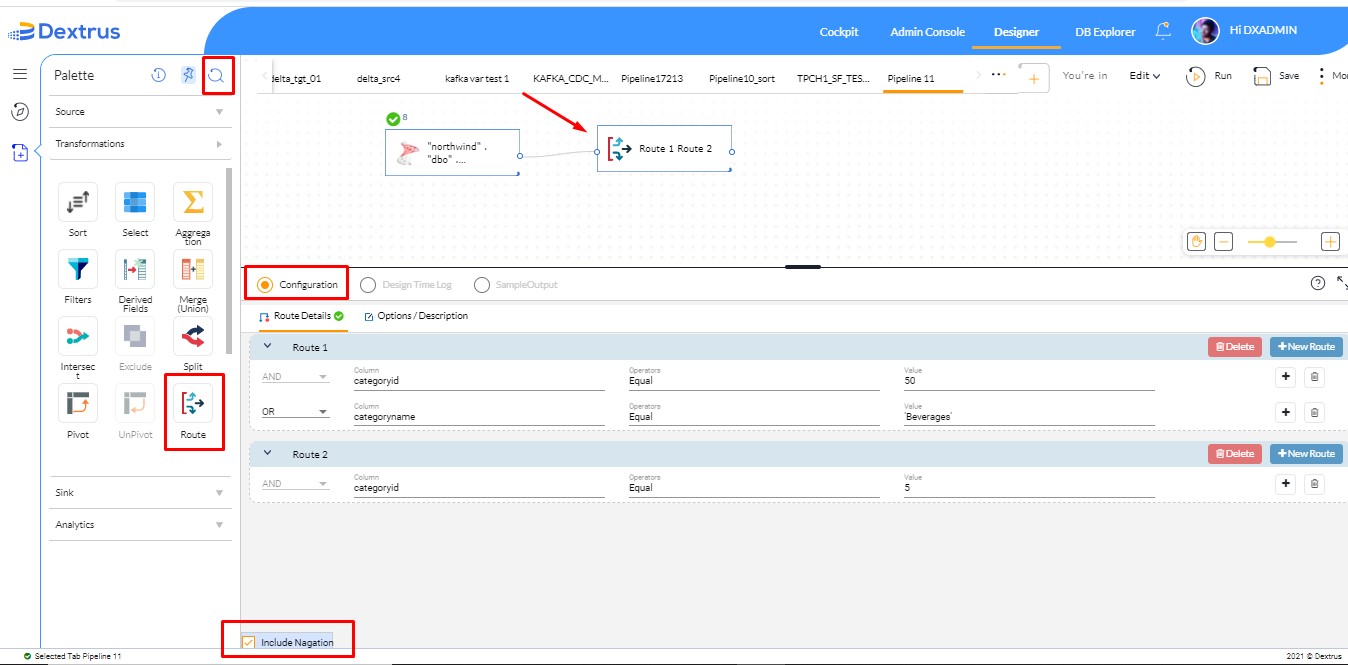
Route Node can be found in the Transformations Palette. The node can also be found through the search box next to Palette.
- Drag and drop the route node onto the canvas.
- The Configuration option (radio button) is enabled by default.
- The Configuration menu consists of Route Details and Options/Description tabs.
- Route Details
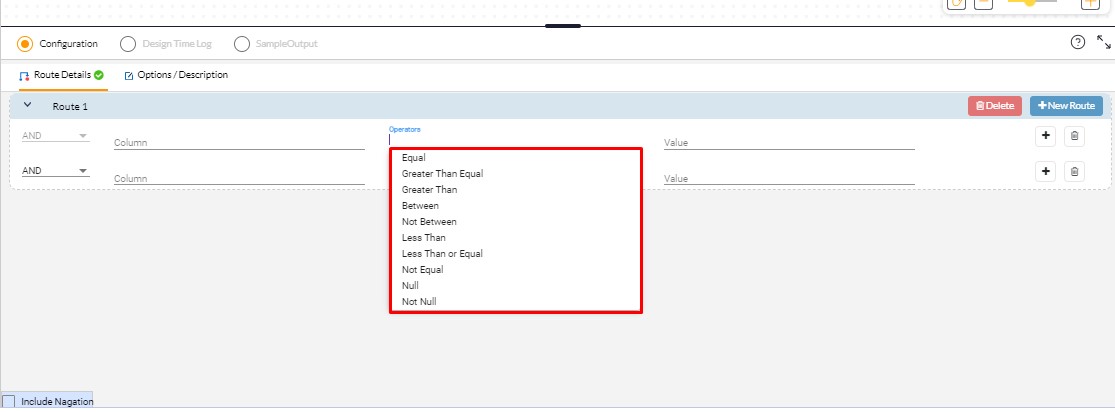
- New Route: A new route can be created by clicking on the New Route button to declare a condition. A route is already displayed by default.
- AND/OR condition: A user-defined condition (AND/OR) can be declared on the selected column to retrieve the desired output record.
- Column: A drop-down list of all column names is populated based on the connected input source data.
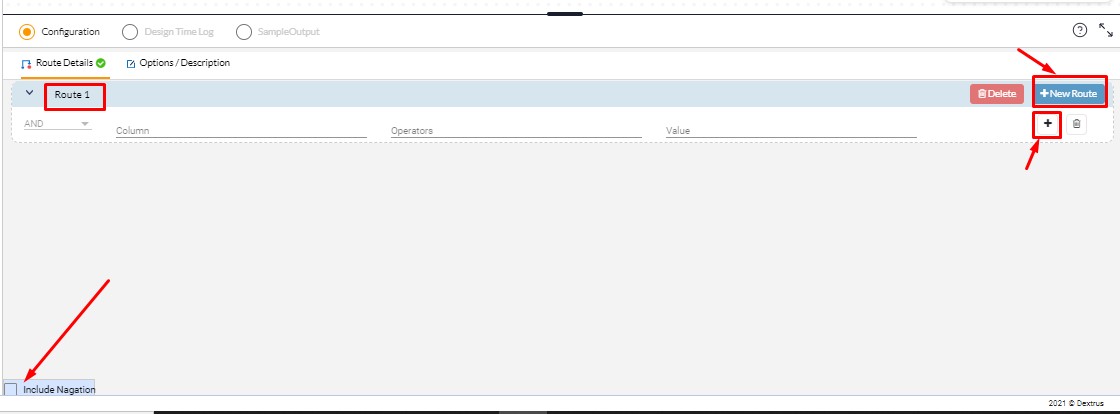
- Operators: A drop-down list of all operators is displayed where the user can choose any one of them.
- Value: A text field that accepts input of a numeric or a string.
- Route Details
Note: A string should be declared within single quotes to read it.
- Plus icon: A new sub condition can be declared within the route.
- Delete: Deletes the selected route.
- Include Nagation: Enabling the checkbox of Include Nagation will include all the records that neither match any of the route conditions.
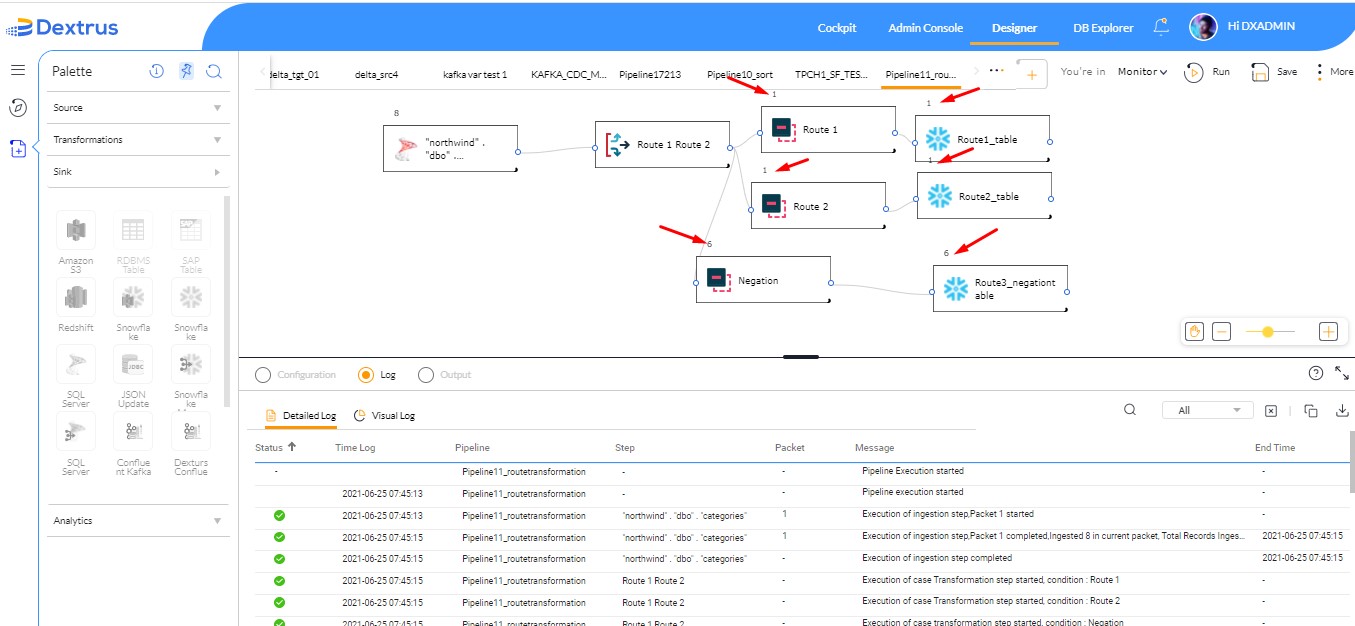
For example, a record passing through route1 will be written into target1. Another record passing through route 2 will be written into target2. The remaining records (Nagation) that match neither of the route’s conditions will be written into target3.
A Slice Options pop-up window is displayed when the route transformation output port is connected to the input port of the target node. Click the checkbox against the route name you want to choose from the list.
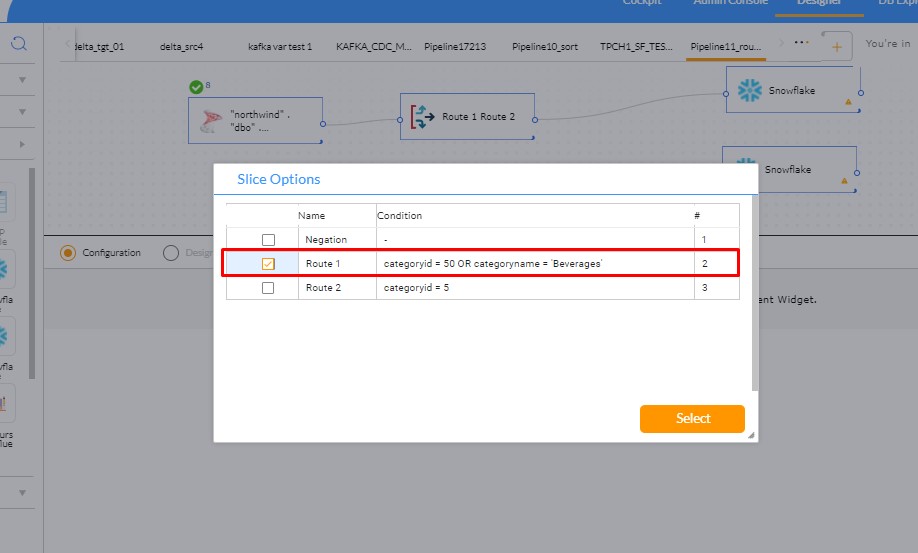
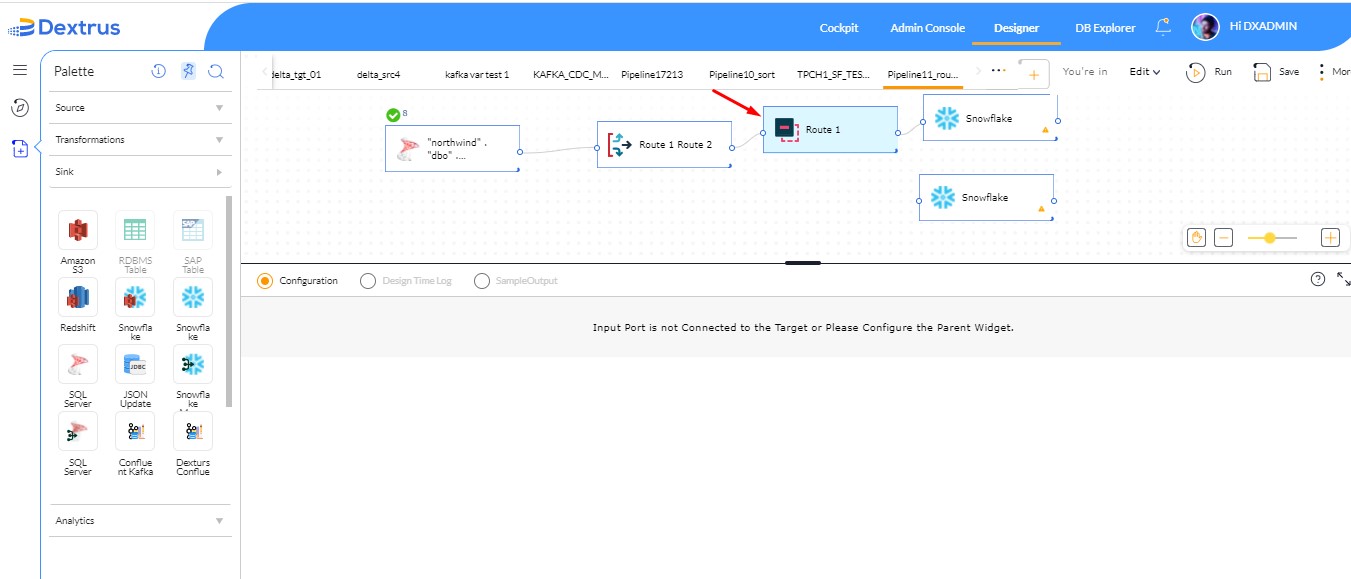
A dummy route transformation node is created between the route node and target node based on the option (Route1/Route2/Nagation) chosen by the user from Slice Options pop-up window.
An illustration of a batch pipeline connecting the source node to the target node using Route node (Route1, Route2, and, Nagation) is shown below:
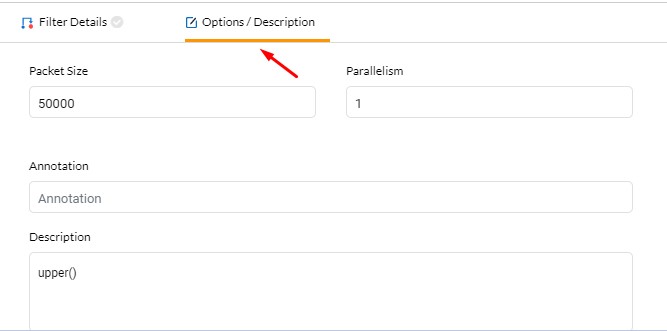
Options / Description:
- Packet Size and Parallelism can be maintained here to achieve better performance.
- Annotation can be used to mention brief details of the functionality achieved in the filter node.
- Description can be used to provide more details of the filter conditions and can also be used to maintain a log or audit trail of all the changes done to the filter conditions over some time.